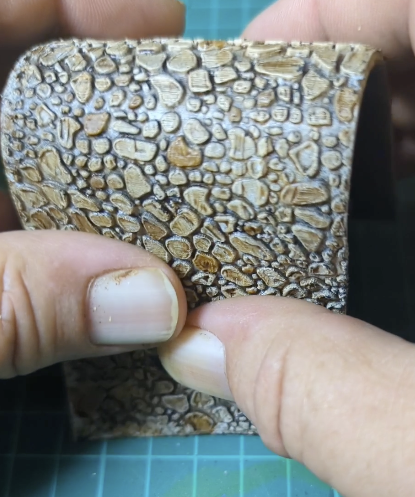
How to Create a Flexible Road
- No Comments
Creating impressive wargaming terrain doesn’t have to break the bank, and we’re here to show you how to create a flexible road using cushion flooring.
1. Prep the Cushion Flooring
Using regular offcuts of cushion floor, cut a strip to your intended size. Be sure to cut it straight and make sure there are no bumps, as this will effect the end look.
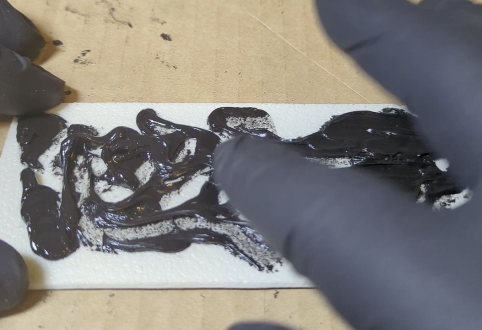
Add some silicone sealant reasonably thickly onto the surface and smooth it down using your fingers, covering the surface as evenly as possible
2. Use a Textured Rolling Pin for the Cobbles
To created the cobble effect of the roads, we’re going to use Greenstuff World’s Small Cobbles textured rolling pin.
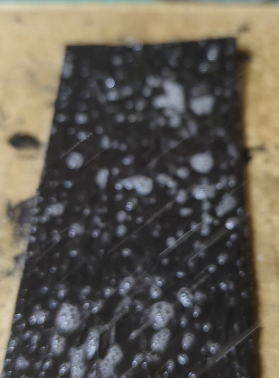
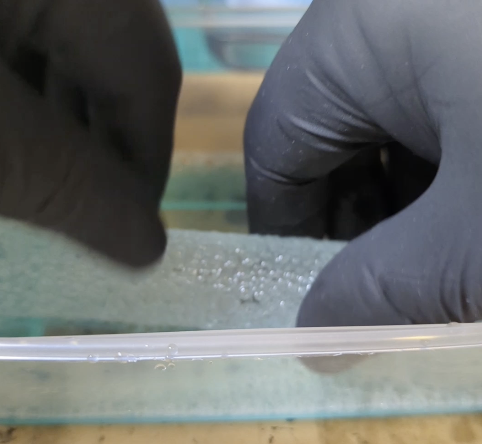
To stop the roller from sticking to the cushion flooring, make sure you spray the surface with soapy water, as well as coat the roller in the water. We’ve used a thick mixture of liquid soap to coat the surfaces of the rolling pin and cushion flooring.
Next, press down reasonably firmly onto your roller, pushing down the surface away from you in one direction.
Leave for 24 hours to dry fully.
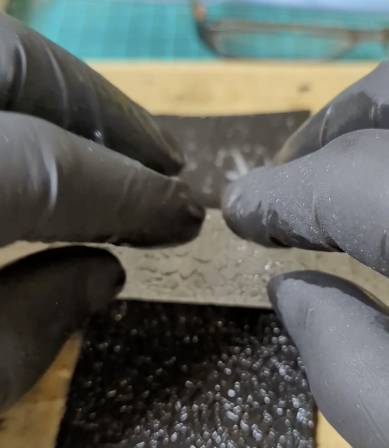
3. Add Detail onto the Flexible Road
Before adding the detail onto the cobbles, it’s important to prime with a coat of spray paint. We’ve used Colour Forge’s Wight Bone to prime the road.
Once it’s dry, it’s time to start painting some of the cobble stones in different colours. For our road, we’ve decided to use Citadel’s Technical Agrellan Earth and Citadel’s Base XV-88, but you can choose whichever colours suit your road.
Finally it’s time to add some washes on top. We’re using Darkstar’s Dickensian Shadow and Darkstar’s Murky Mire for our road. We also suggest watering down your washes to create different tones on your road.
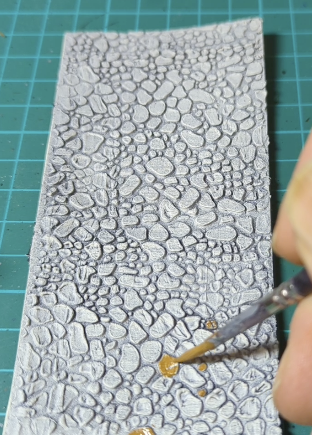
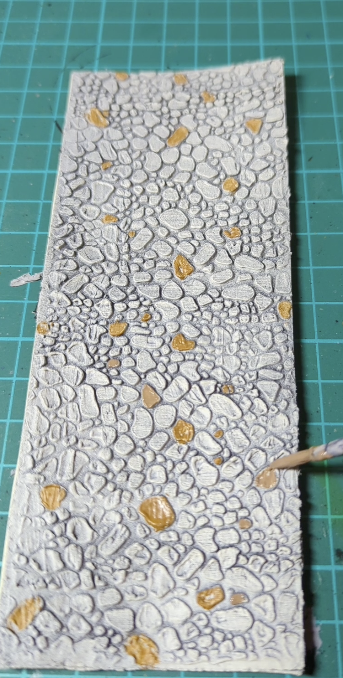
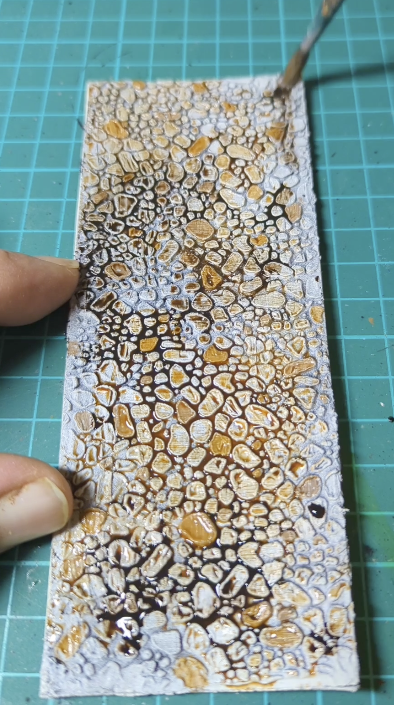
Once your paint is dry, your flexible road is complete! You can now bend it into whichever shape you like without damaging the cobbles.
