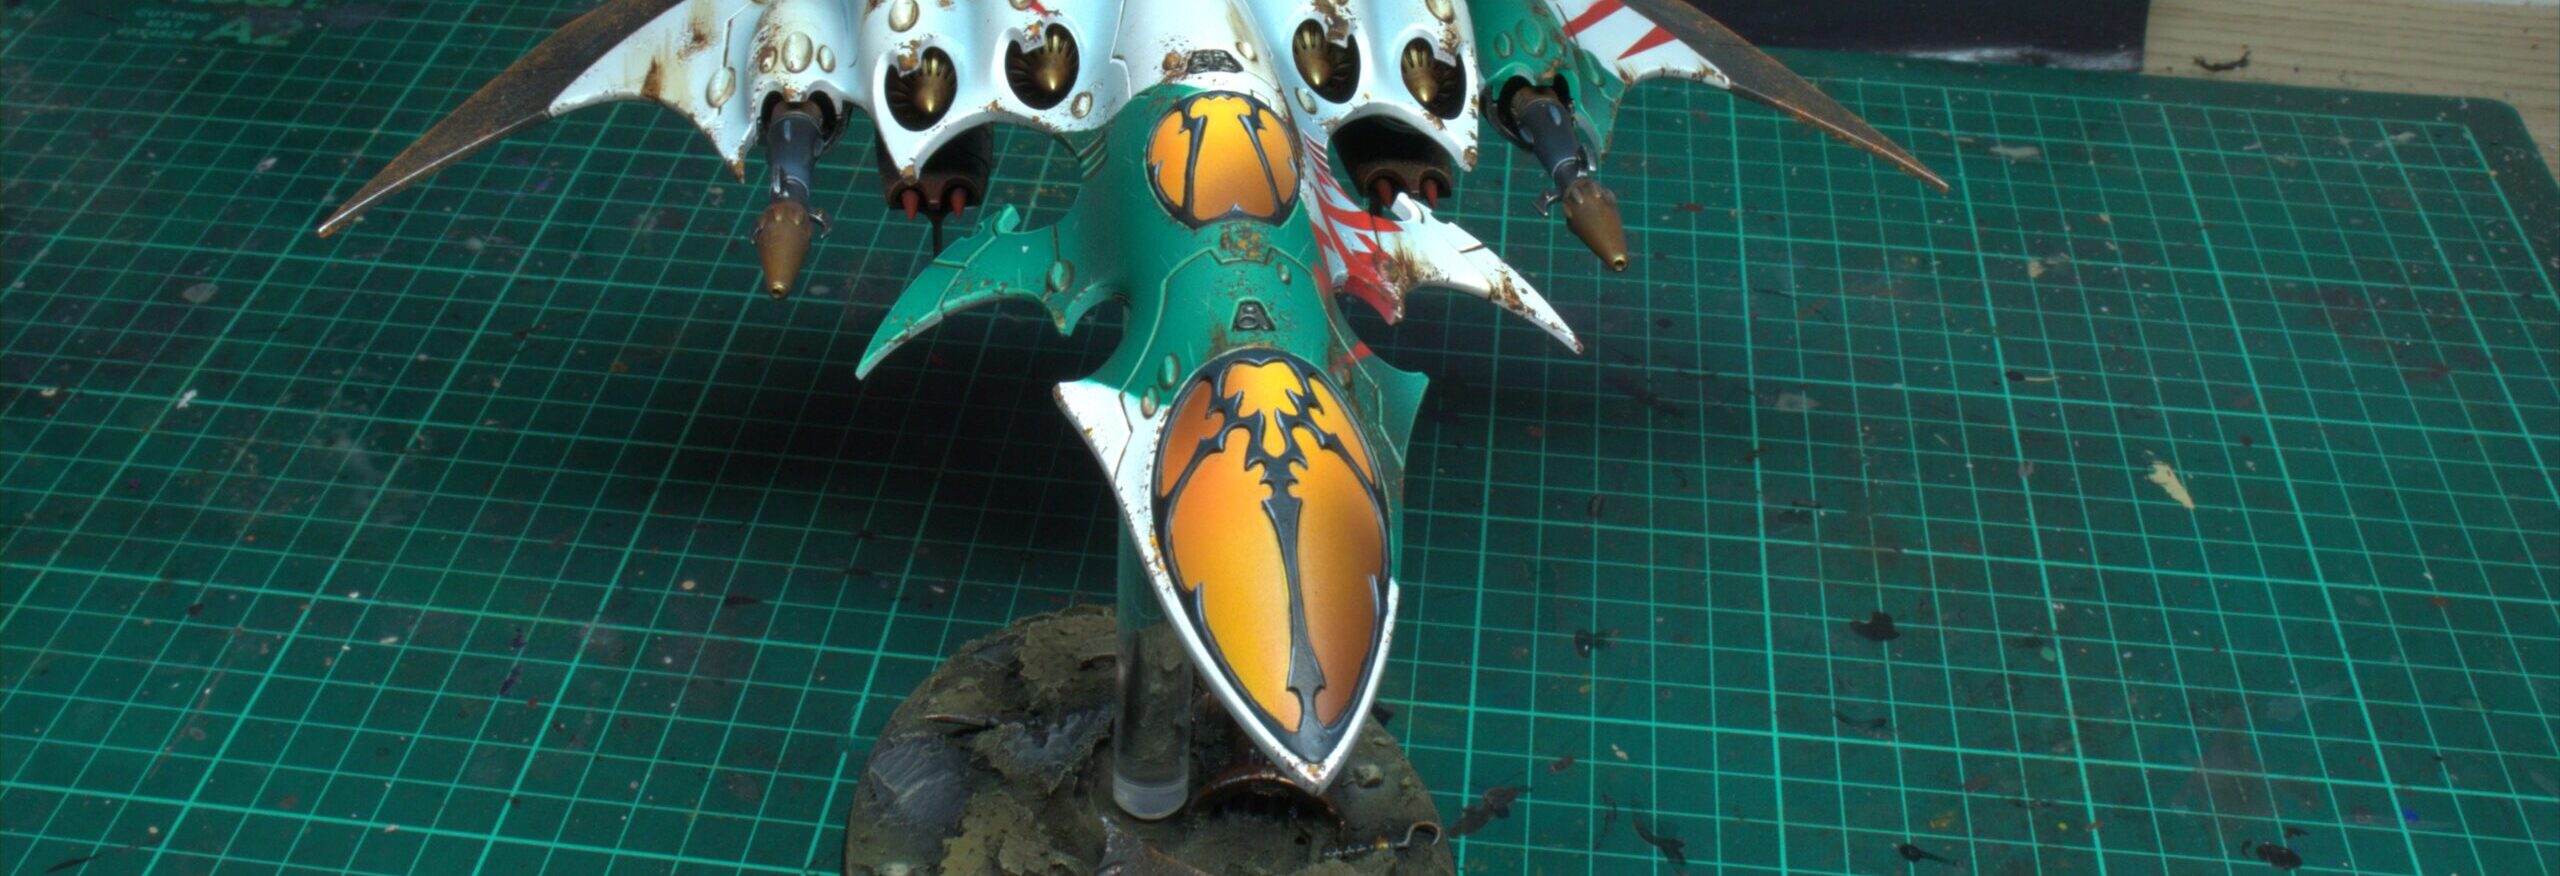
How to Paint Warhammer: Vehicle Canopies
- No Comments
Welcome to this Red Eagle Studio guide. This is a step by step painting tutorial for painting your Warhammer 40,000, in this guide we paint vehicle canopies and glass!
Painting vehicle canopies can really add some colour to your model, offering a great looking and speedy alternative to the clear plastic canopy option. I chose an orange, almost sunset colour scheme to really compliment the green and white armour of the Drukhari flyer in this example.
My airbrush settings for this were:
30psi
0.4mm needle
Flow Improver
Flow improver in all paints is used to reduce the paint drying on the needle tip and provide good paint flow (obviously!). It’s an invaluable tool!
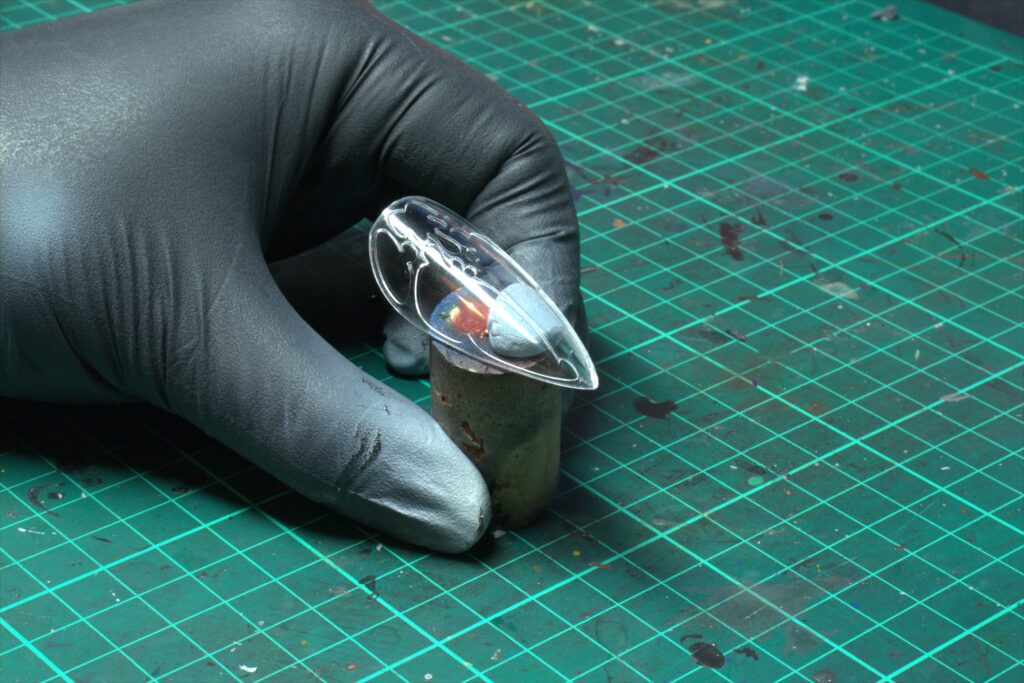
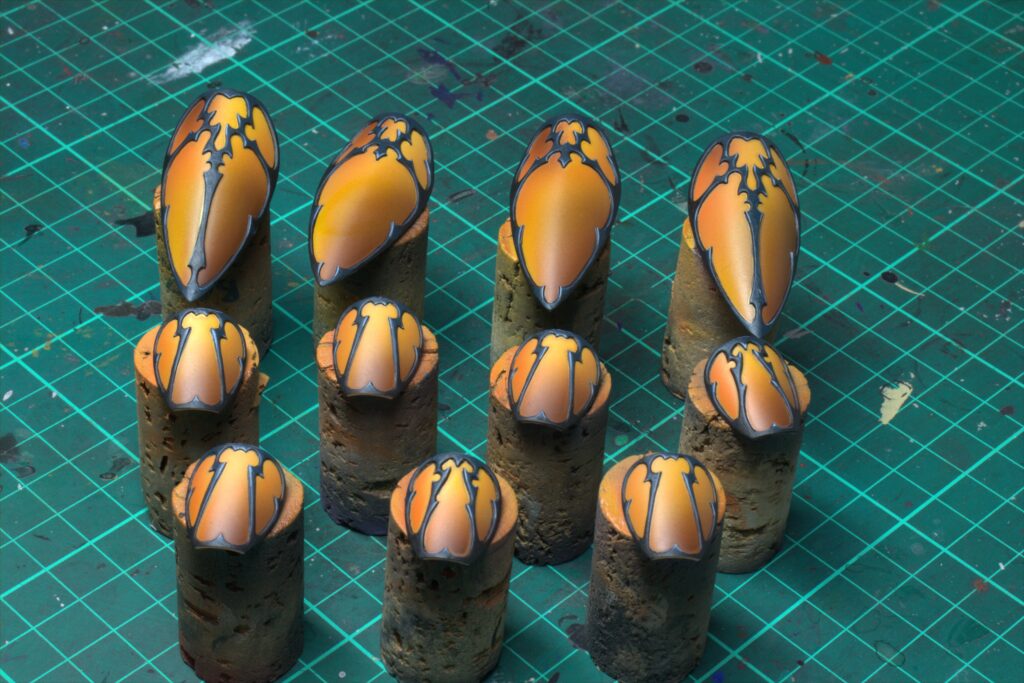
I find it easier to blutac the canopies to some cork and use as a paint handle, this avoids any scratches appearing during the painting process.
Step 1 – Undercoat
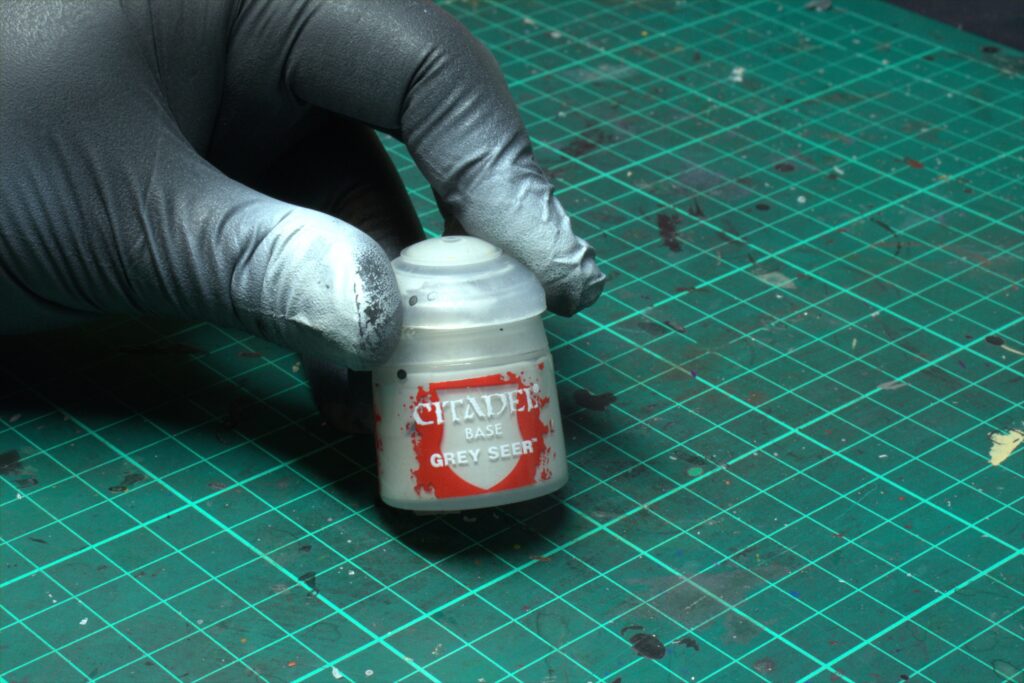
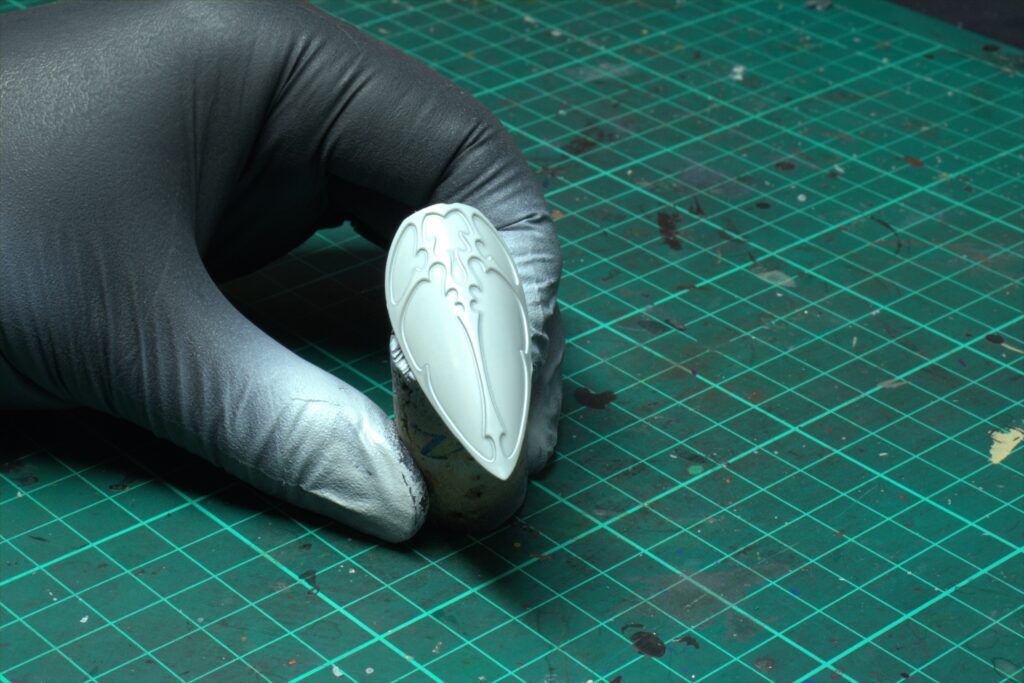
Undercoat with Citadel Grey Seer, provides solid coverage to really help the colours stand out
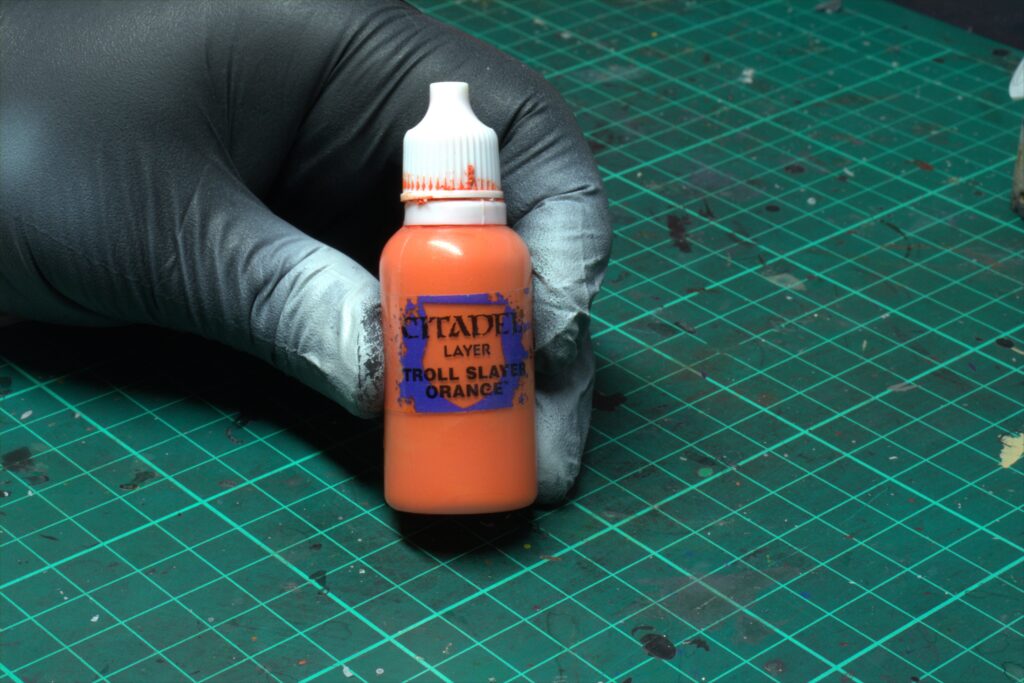
Step 2 – Troll Slayer Orange
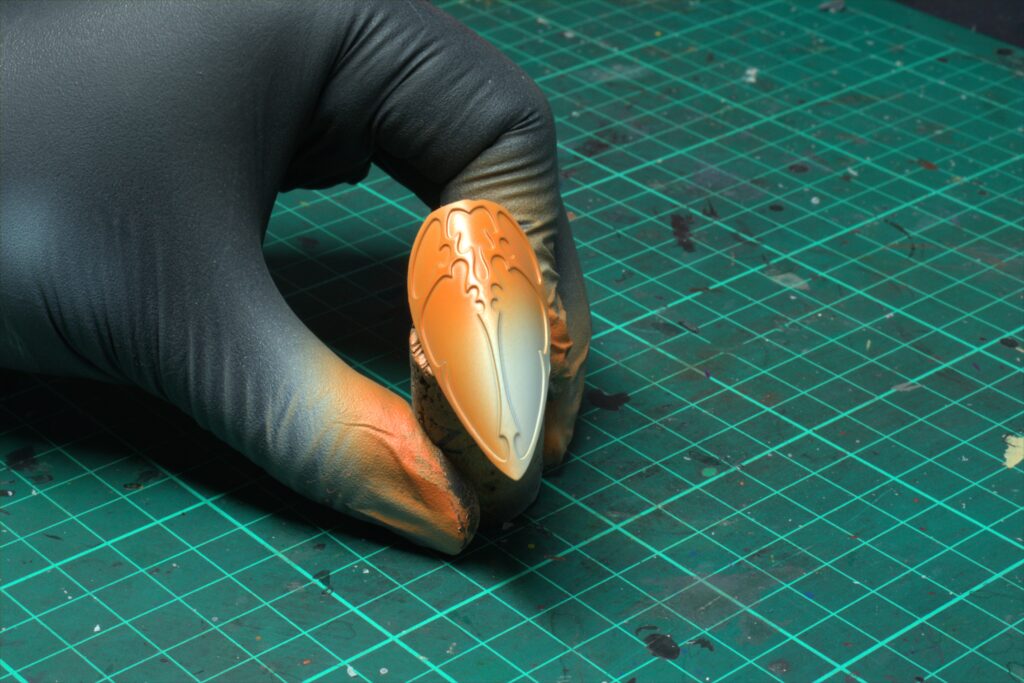
Airbrush Citadel Troll Slayer Orange, avoiding the bottom right quarter. A couple thin coats gives a nice smooth finish. Use a hairdryer to help speed up the drying process.
Step 3 – Averland Sunset
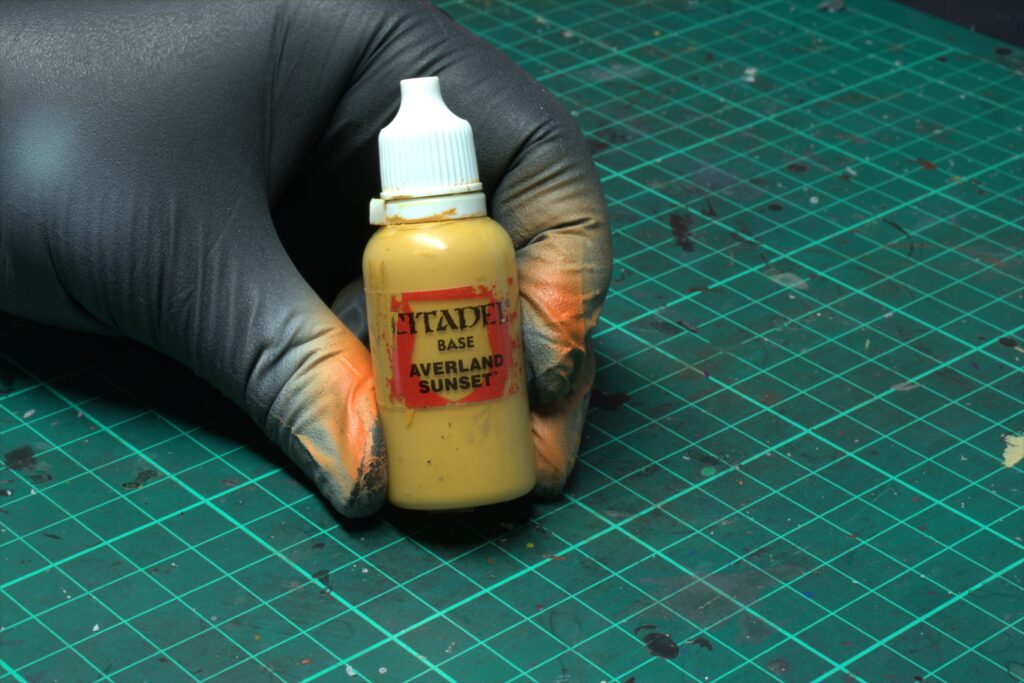
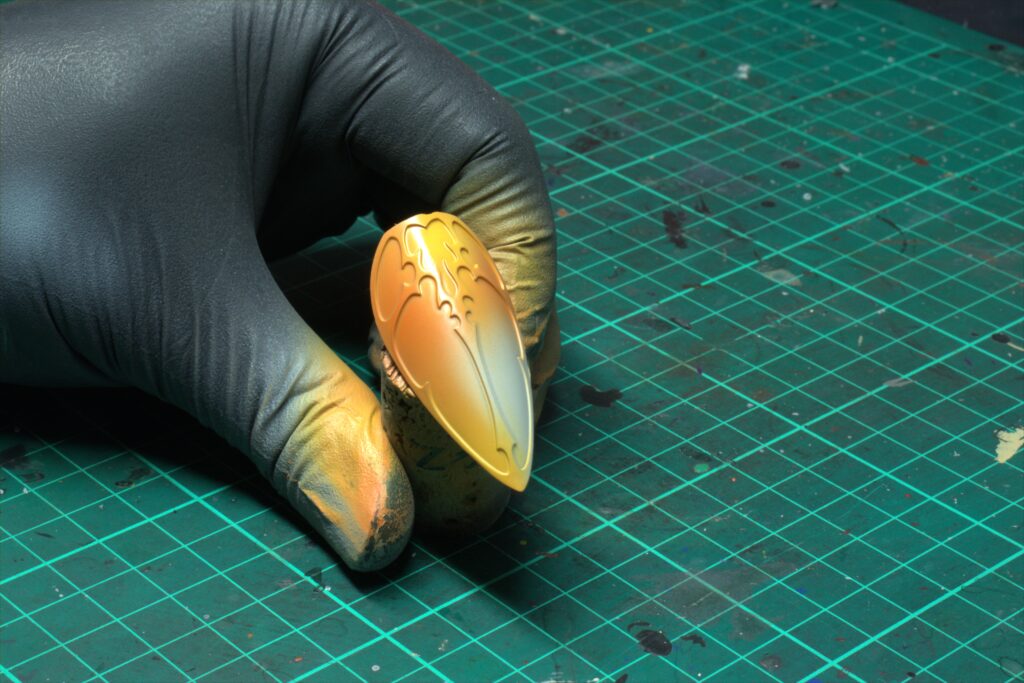
Airbrush Citadel Averland Sunset on the top middle and bottom left edge. This creates the brightest point, also looks like its reflecting the sun.
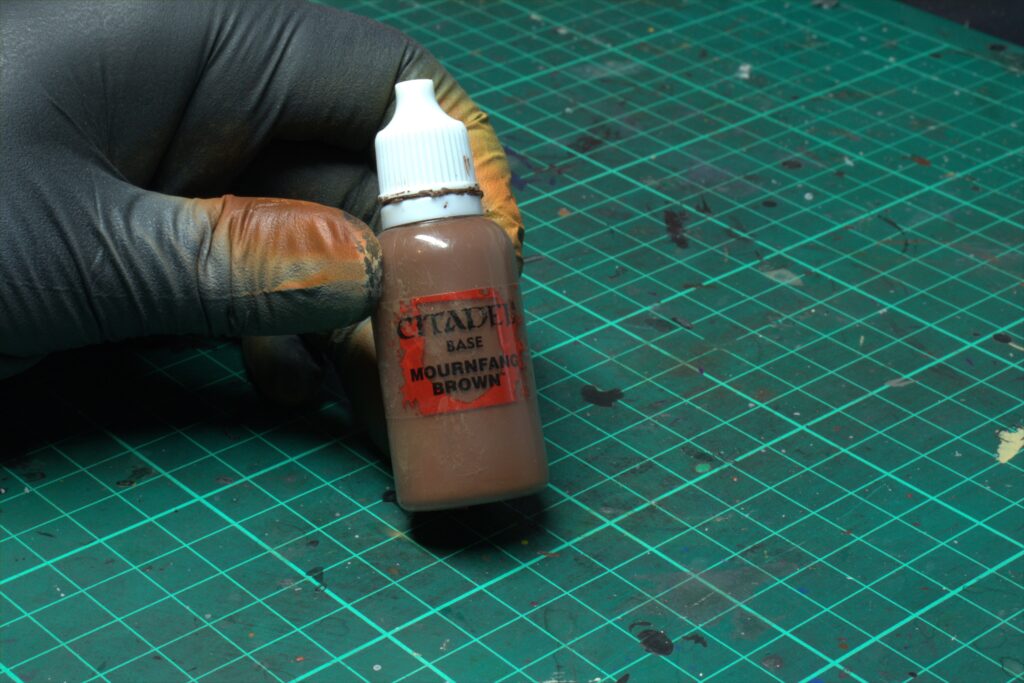
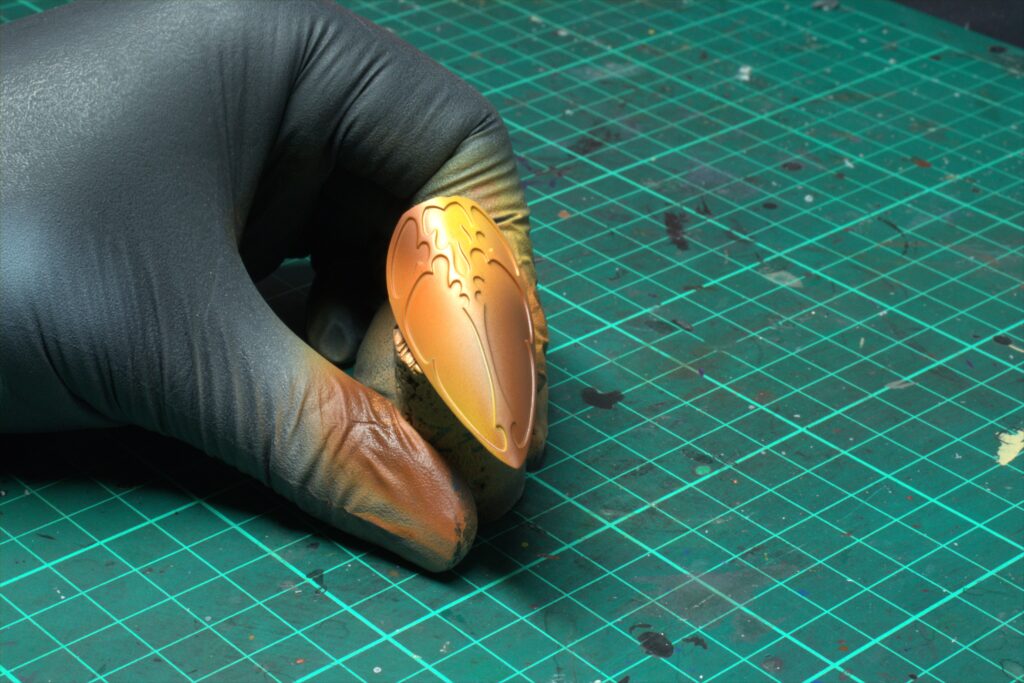
Step 4 – Mournfang Brown
Airbrush Citadel Mournfang Brown on the top left edge and bottom right quarter. This adds a little depth to the canopy whilst still maintaining a warm overall look.
Step 5 – Transparent Yellow
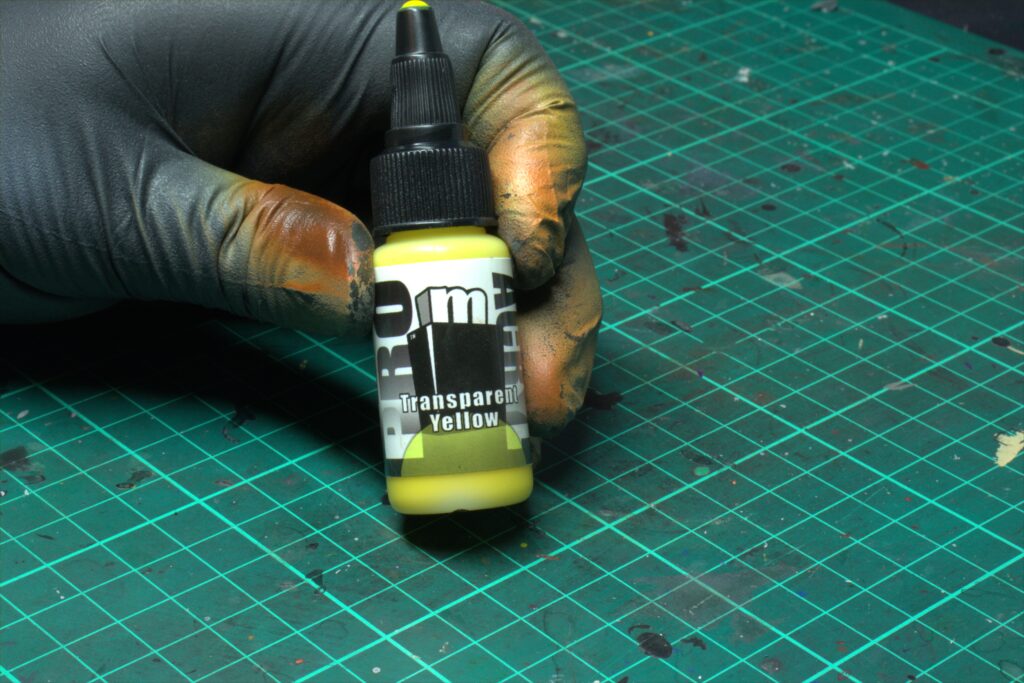
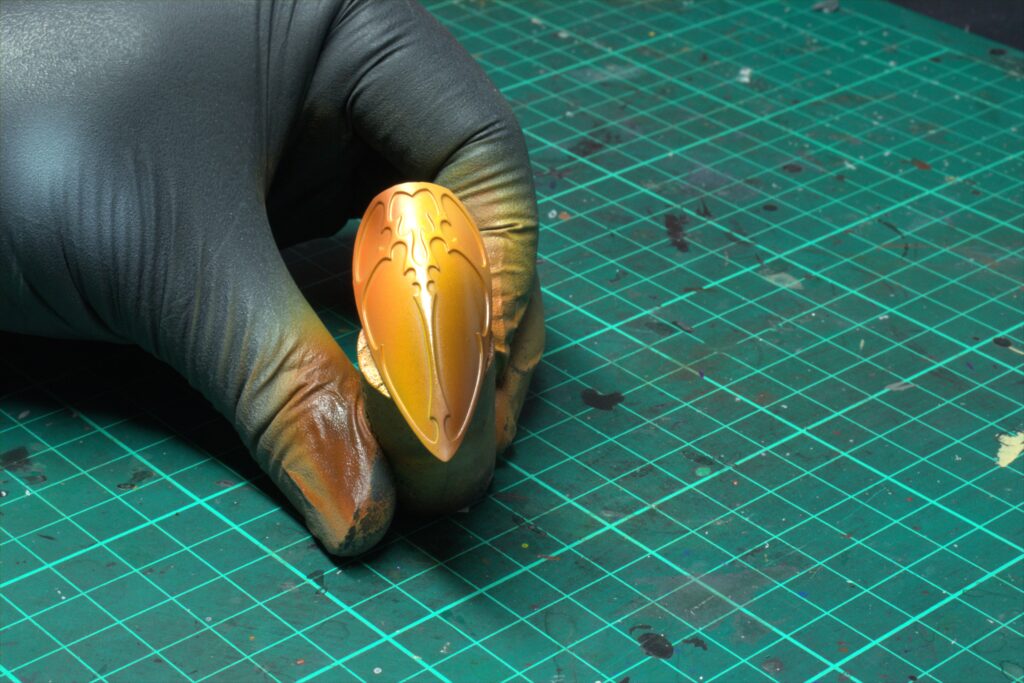
Airbrush Transparent Yellow diagonally from the bottom left to top right. I used Pro Acryl but Model Color or any yellow ink will work just fine here, it gives the middle part of the canopy a nice warm yellow glow and smooths the area where the orange and brown colours meet.
Step 6 – Matt Black
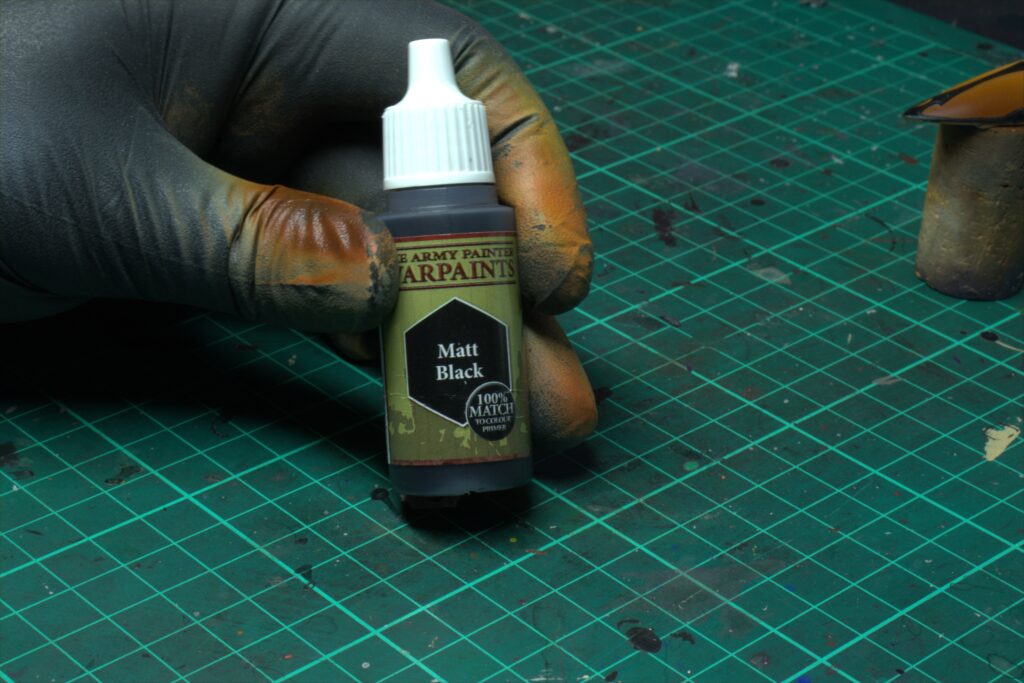
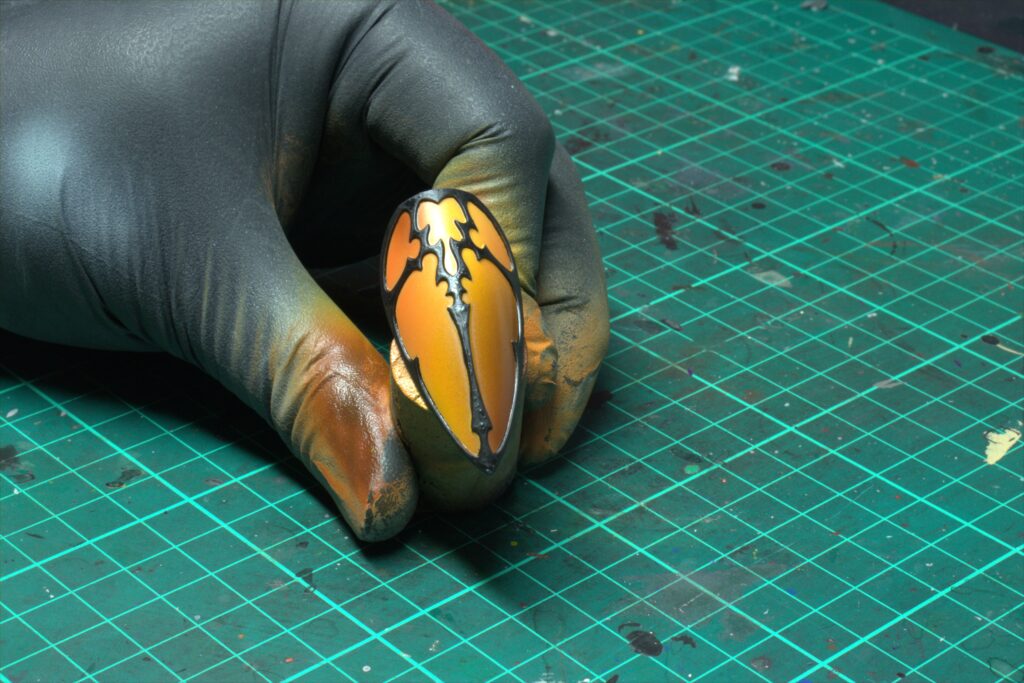
Using Army Painter Matt Black, paint the canopy frame. Adding water creates a smoother finish and helps with your accuracy when painting in the recesses. Apply a couple coats for a solid finish, this stage really helps the brighter orange colours stand out.
Step 7 – Incubi Darkness
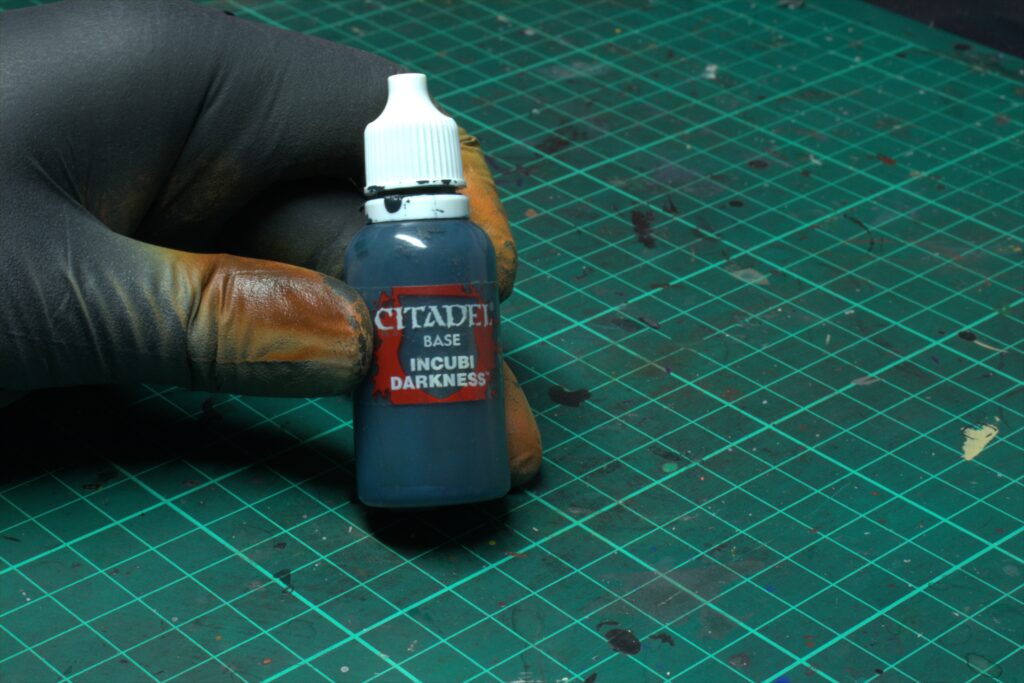
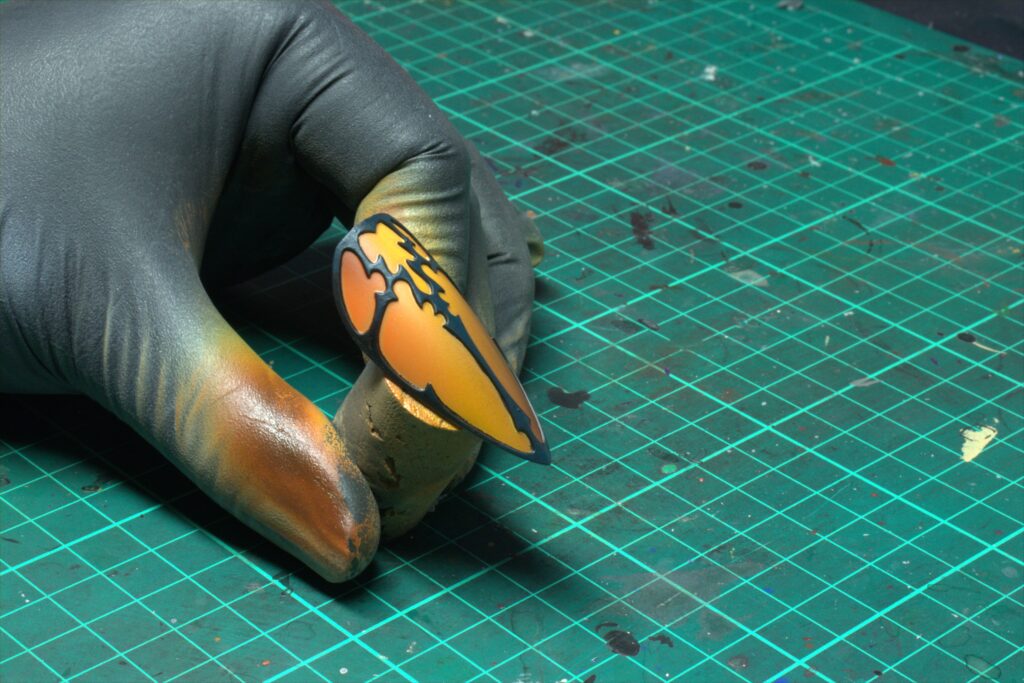
Using Citadel Incubi Darkness, paint the upper half of the black canopy. Helps bring the frame to life and avoid it looking bland.
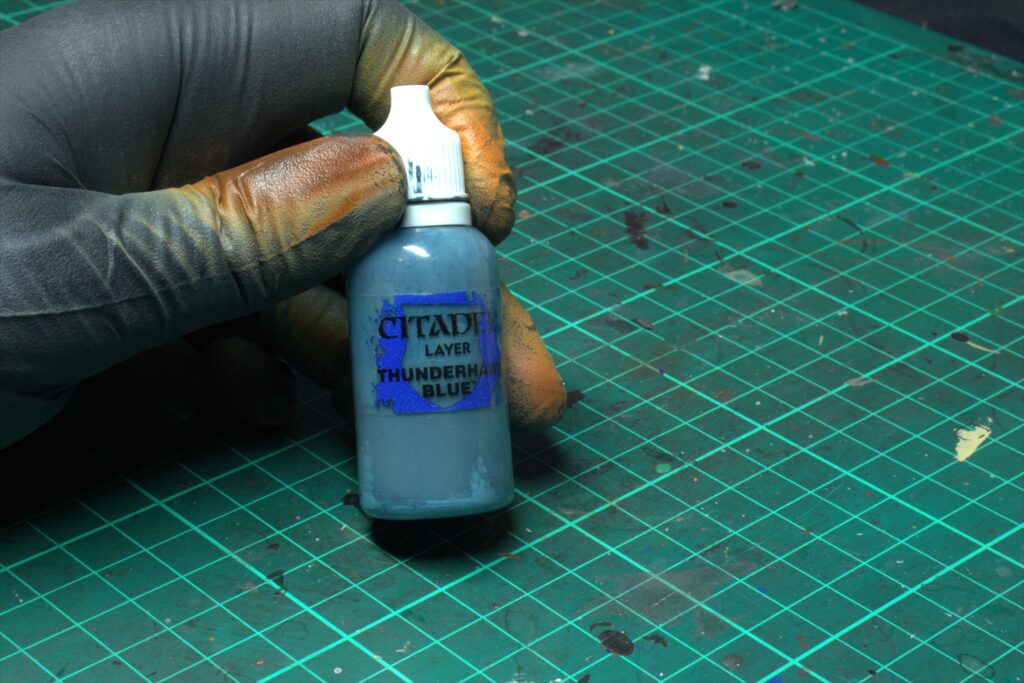
Step 8 – Thunderhawk Blue
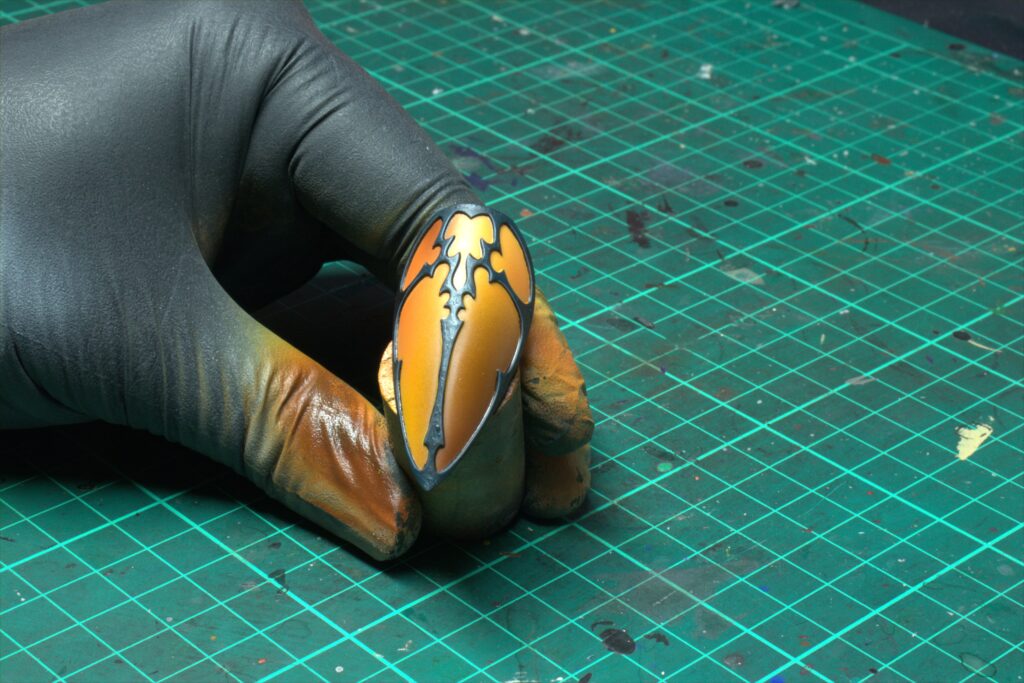
Paint the canopy frame edges with Citadel Thunderhawk Blue. Use an accurate brush here, holding the brush at a 45 degree angle and gently brush along the sharp edges of the frame.
Step 9 – Fenrisian Grey
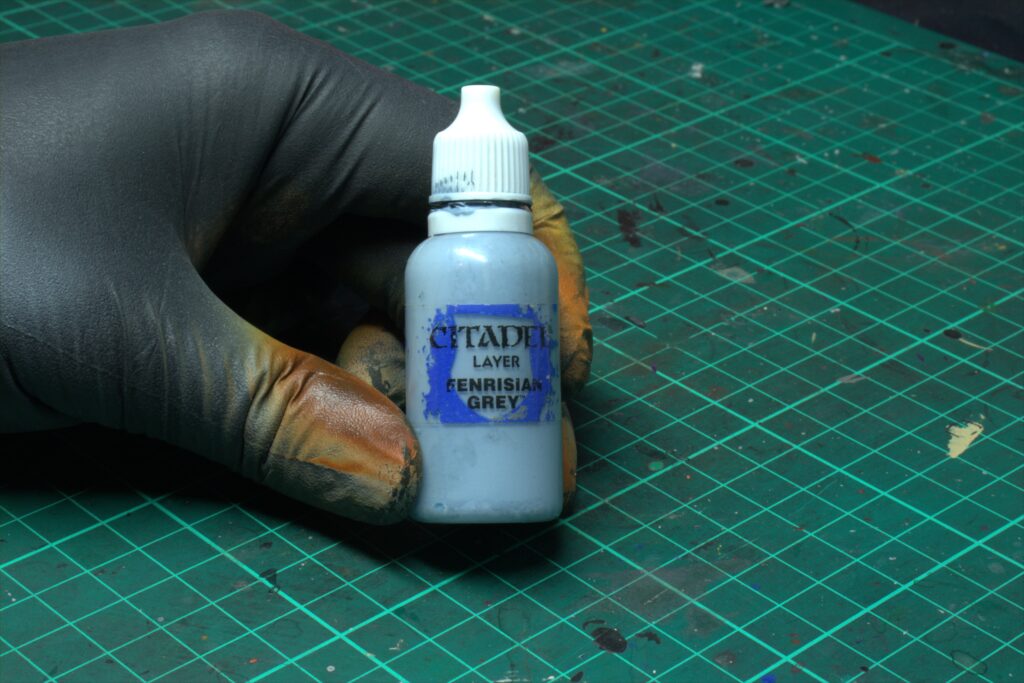
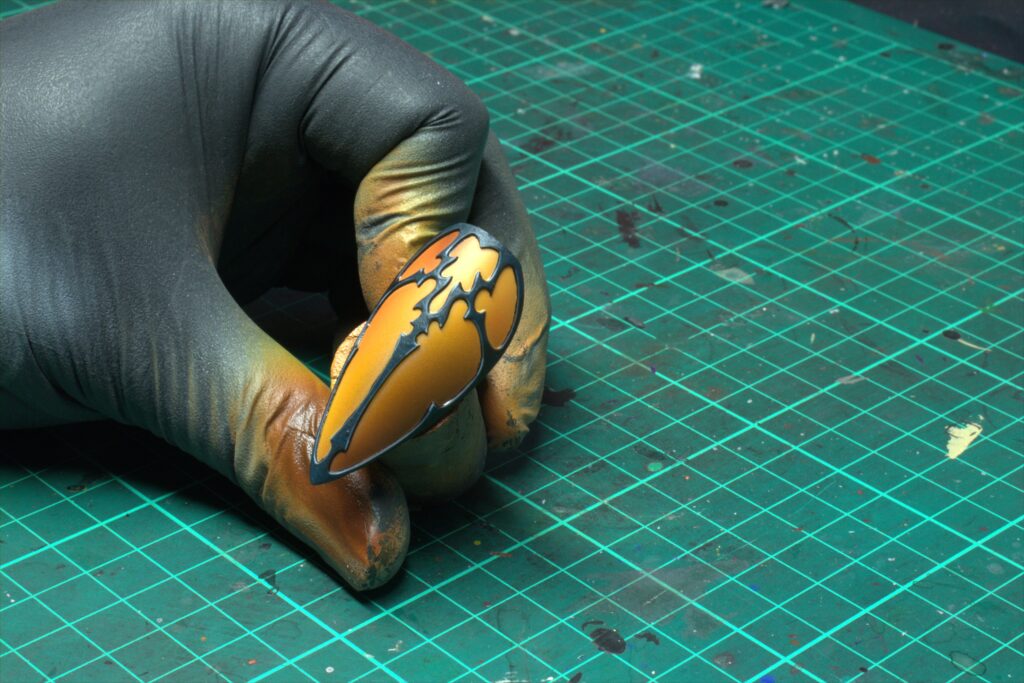
Paint the tips of the canopy frame with Citadel Fenrisian Grey. Little touch that makes the frame look like its reflecting more light.
Step 10 – Varnish
Apply a gloss varnish when everything is finished (and dry!), this will protect all your paint work whilst gaming and also create a great shine like it’s made of glass.
Bobby’s Top Tip: batch paint several at once to maintain consistency across the army!
Outro
The full recipe is as follows:
- Citadel Grey Seer
- Citadel Troll Slayer Orange
- Citadel Averland Sunset
- Citadel Mournefang Brown
- Vallejo Transparent Yellow
- Warpaint Matt Black
- Citadel Incubi Darkness
- Citadel Thunderhawk Blue
- Citadel Fenrisian Grey
- Vallejo Gloss Varnish
That’s all there is to it! I hope this has been helpful! Let me if there are any guides you would like to see in the future or check out the rest of the guides in the Painting Tutorials Section!

