How to Paint Warhammer: Stencils and Masking
- No Comments
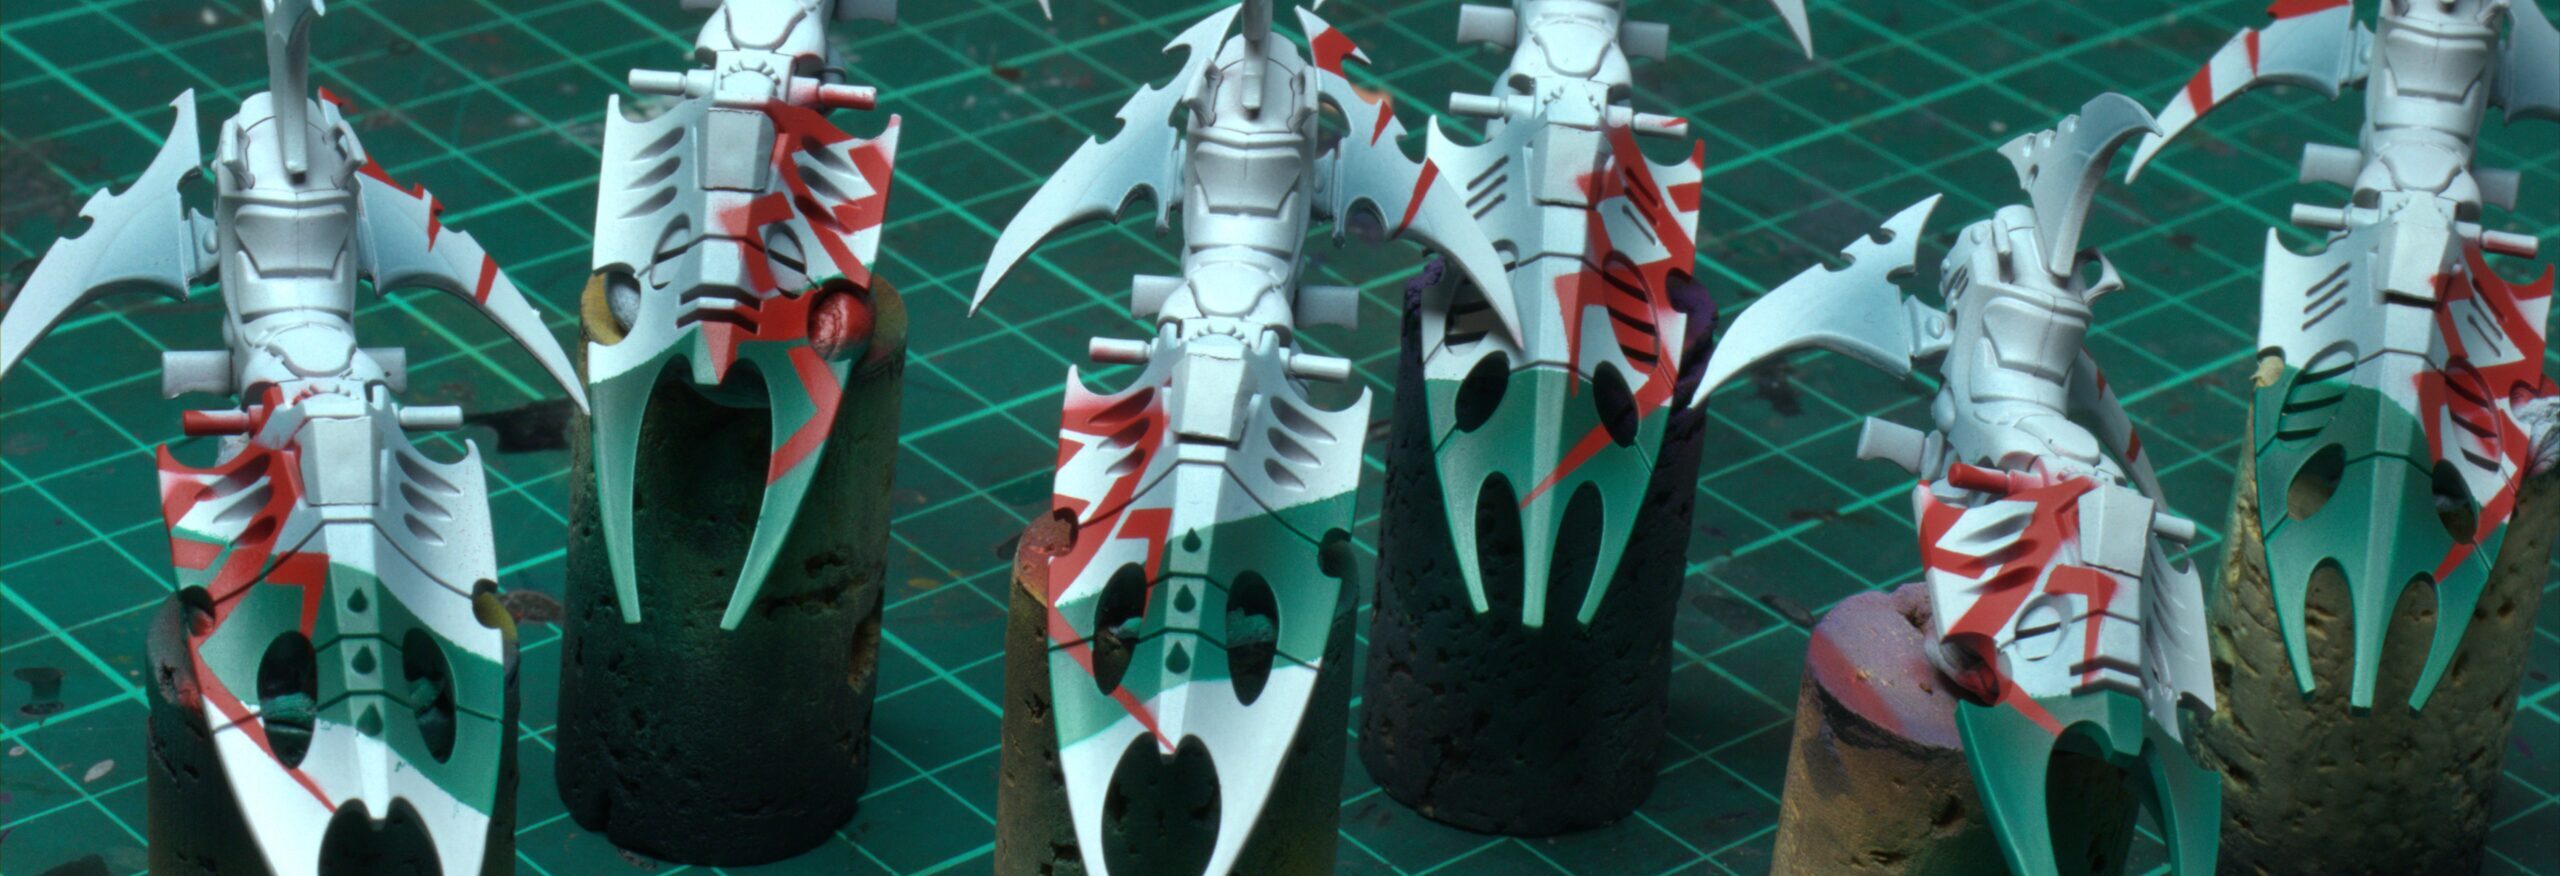
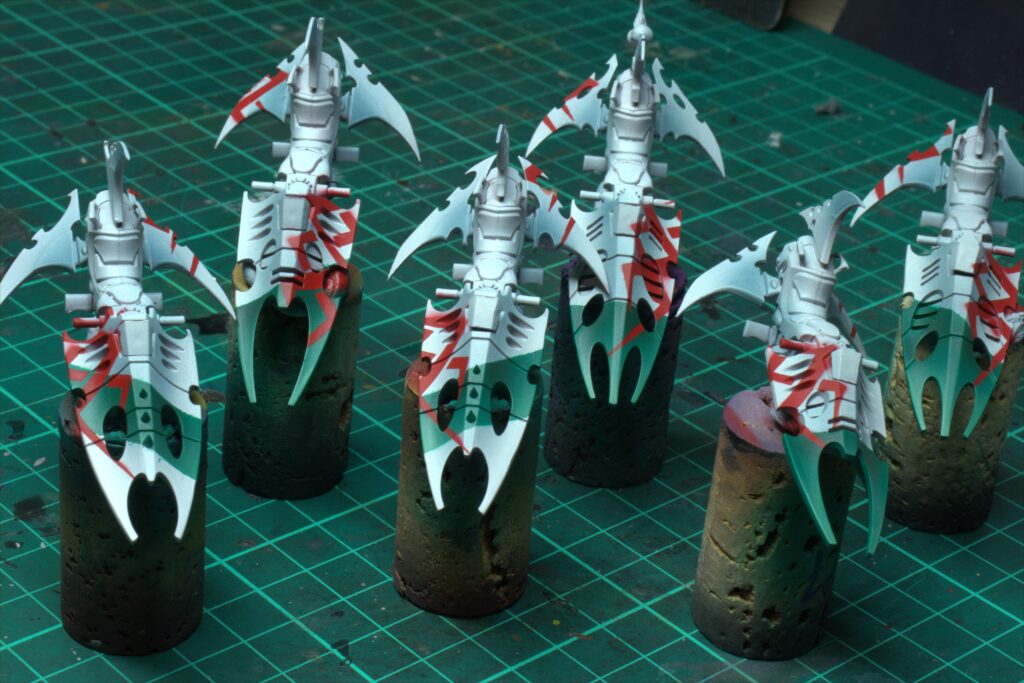
Welcome to this Red Eagle Studio guide. In this step by step painting tutorial I will be showing you how I achieved these clean, crisp and bold stencil pieces on a set of Warhammer 40,000 Drukhari Reavers.
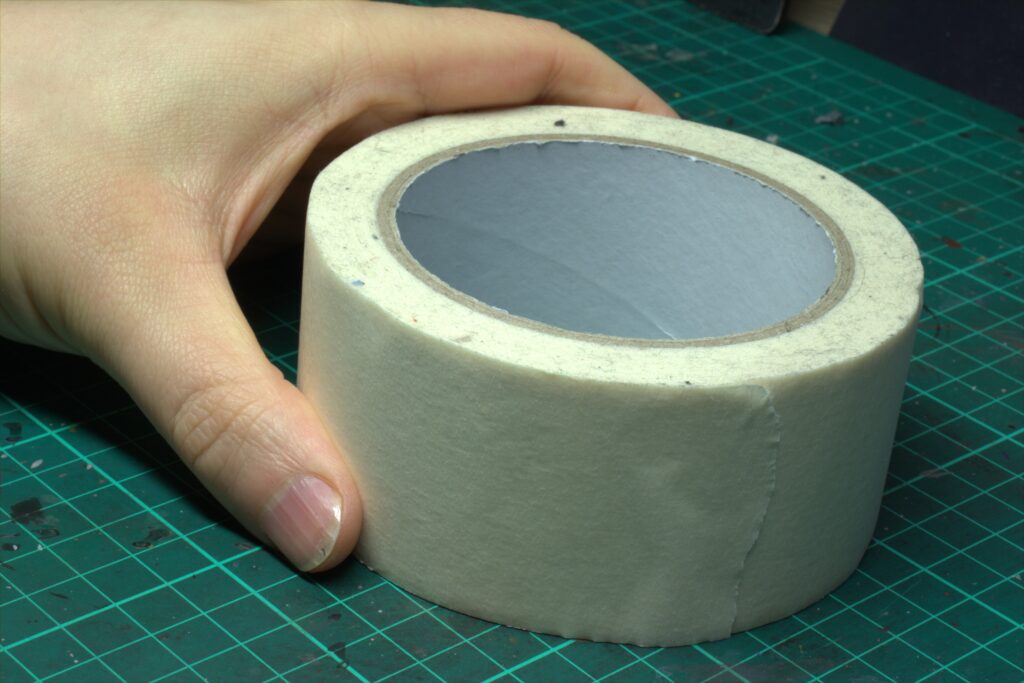
Creating bold, accurate stripes and sections on models can easily be achieved with masking tape. To avoid paint coming off when using this method, its best to use a masking tape that has a low stickyness. Combined with strencils, you can create some interesting patterns to really add some character to your models.
Step 1 – Undercoat
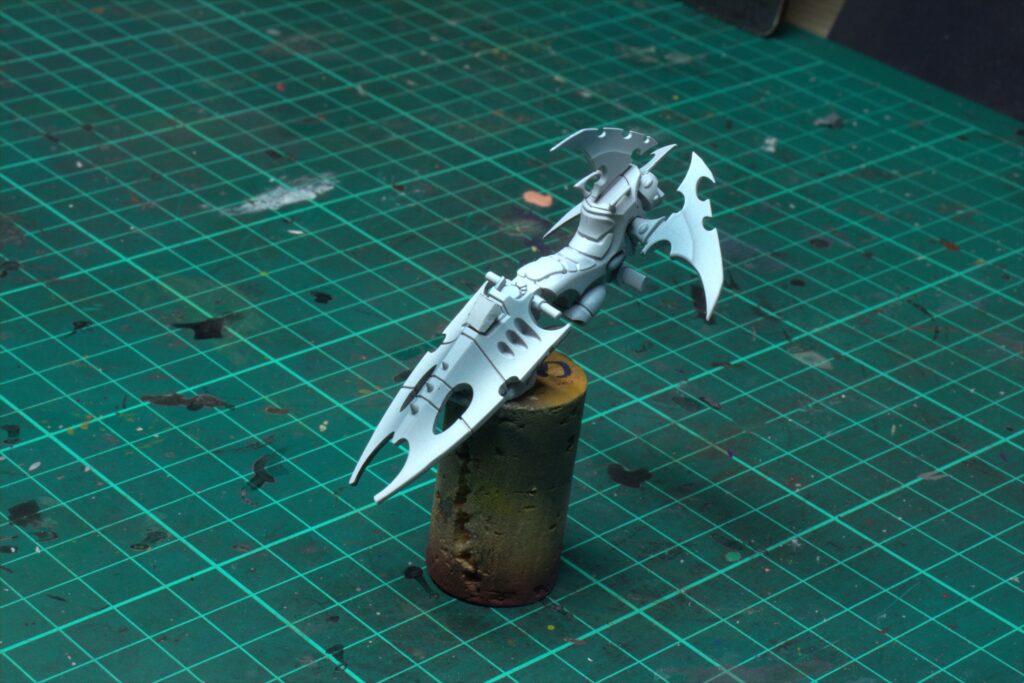
I painted and shaded the main white armour colour onto a Drukhari Reaver model, attaching it to some cork with blutac, acting as a paint handle.
Step 2 – Masking
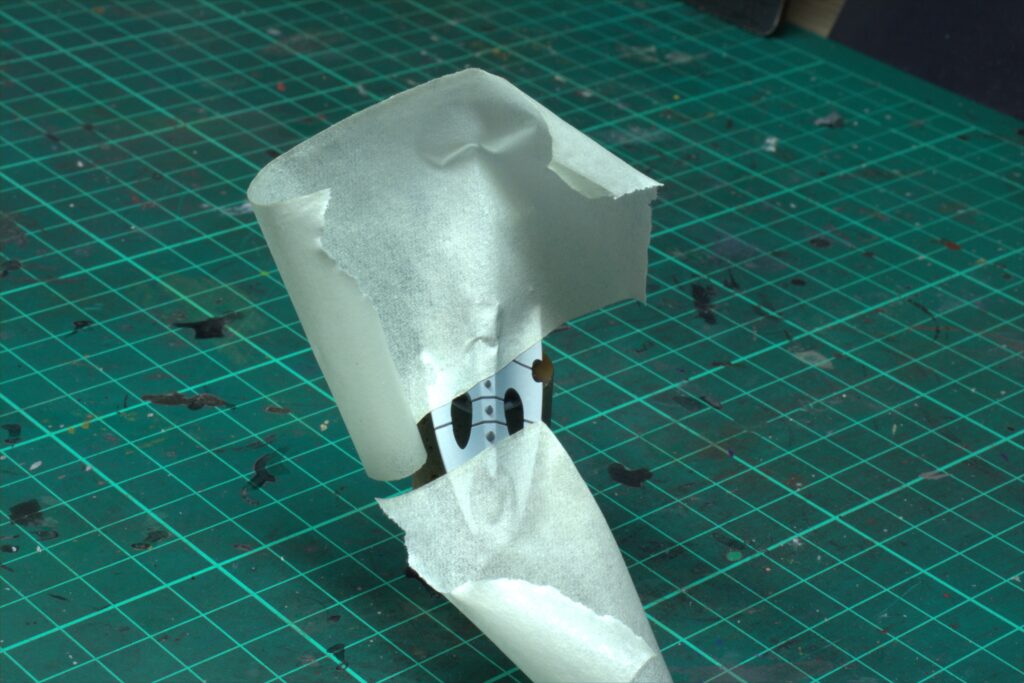
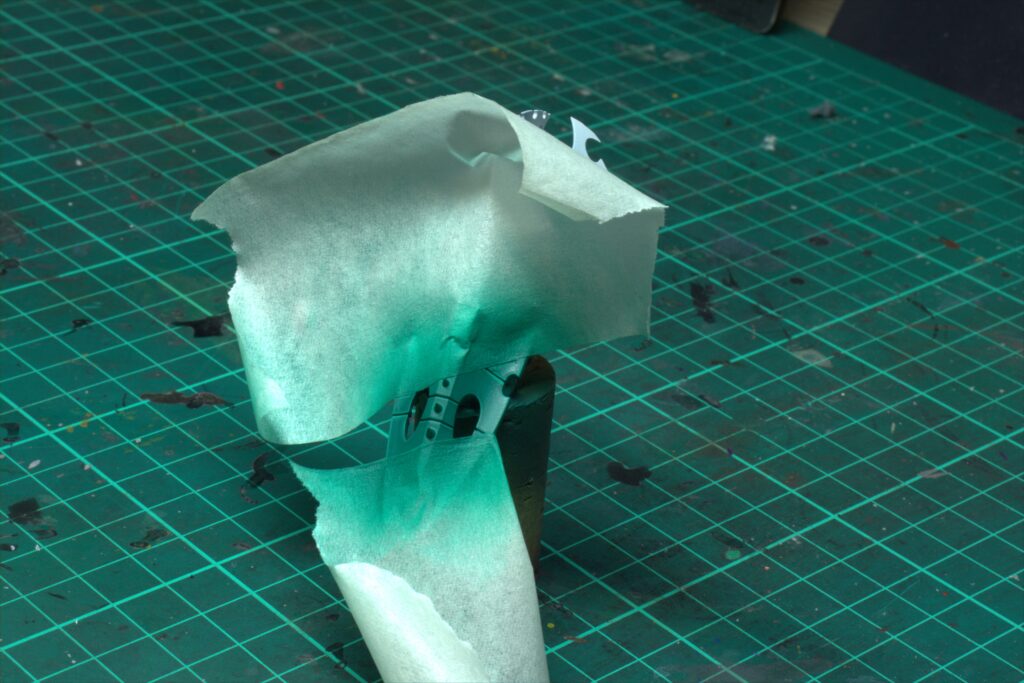
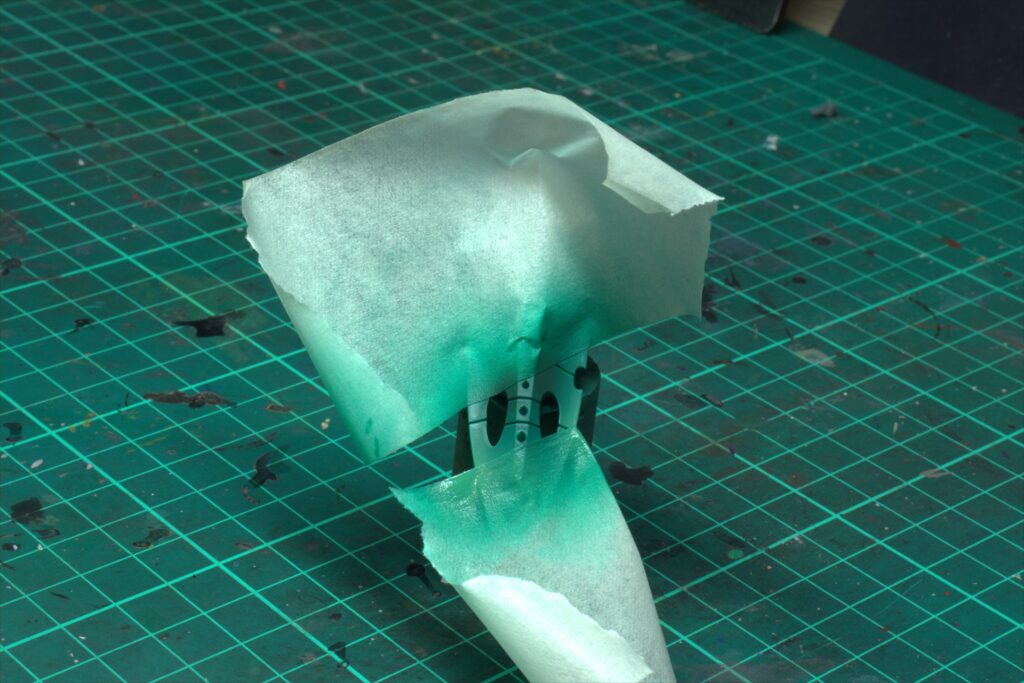
Tear off some strips of masking tape and position over the model, trying to be as straight as possible and gently pressing down on the areas that make contact with the model. This prevents the paint from creeping under the tape.
Step 3 – Main Colour
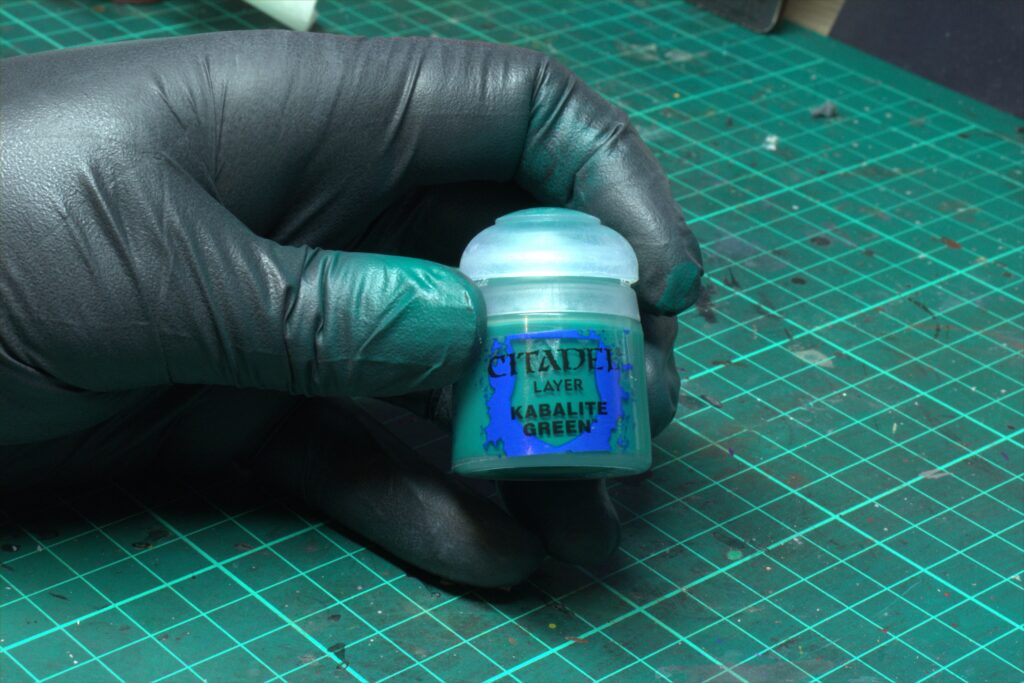
Using an airbrush, spray a couple layers of your main colour, here I used citadel Kabalite Green. A solid finish is required.
Step 4 – Shading
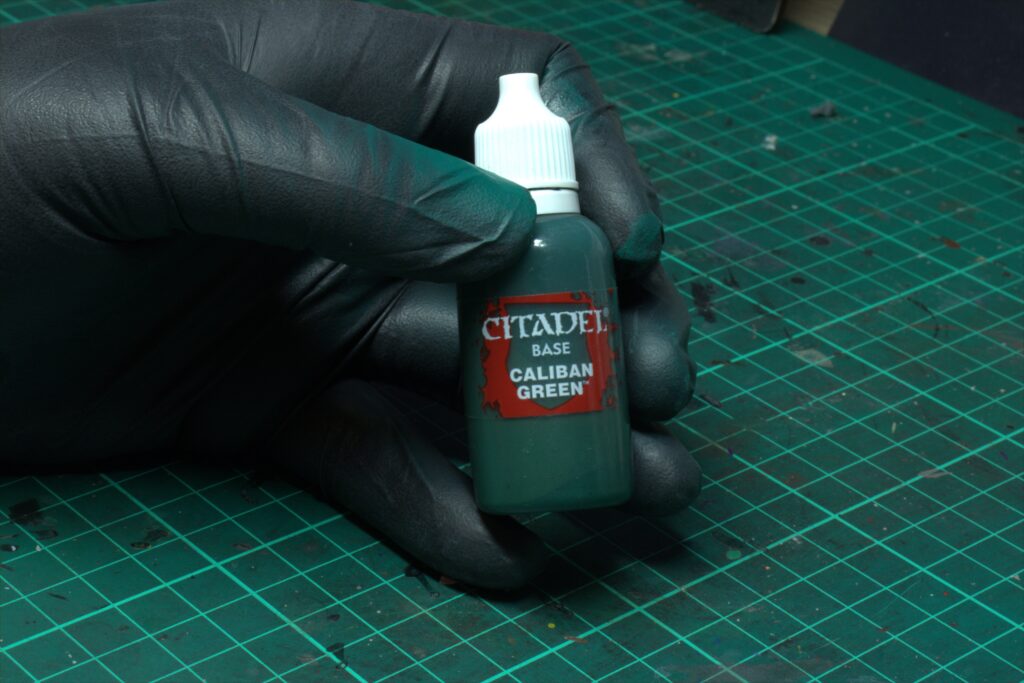
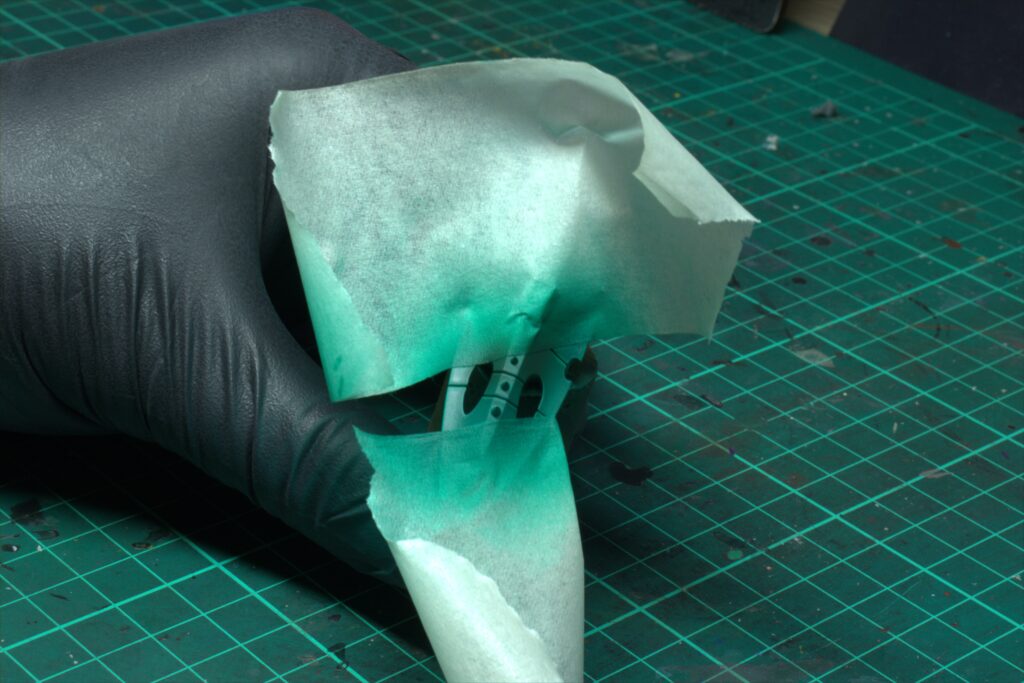
Using citadel Caliban Green I then shade a couple areas on the sides of the central spine of the model. This will create some depth and realism.
Step 5 – Highlight
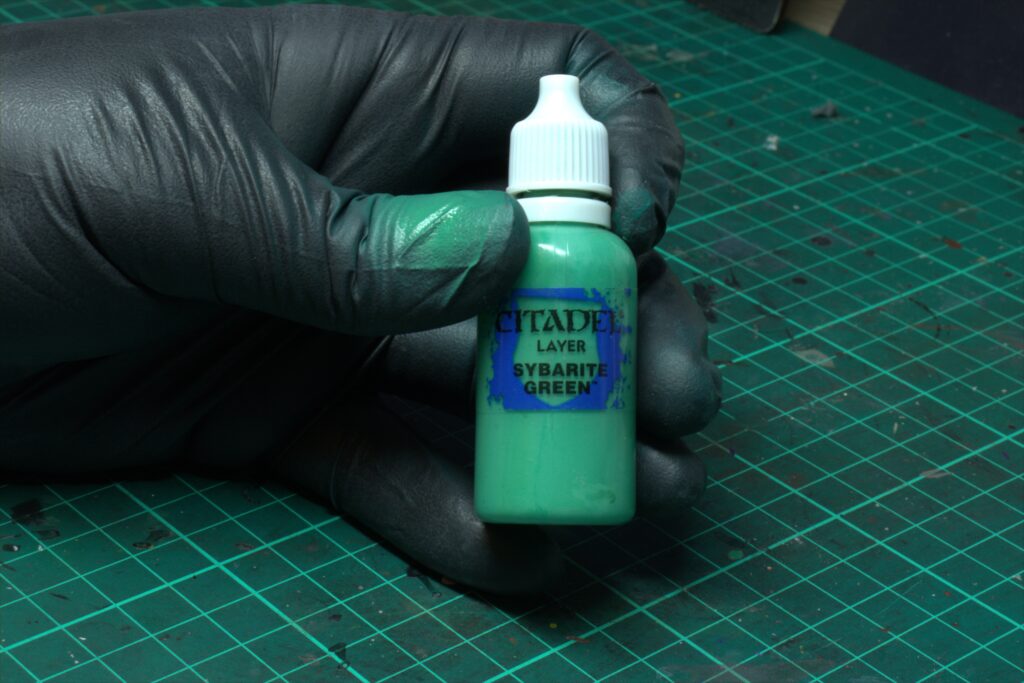
Using citadel Sybarite Green I spray a highlight near the edges of the green section. This will create a more 3d smooth look.
Step 6 – Remove Masking
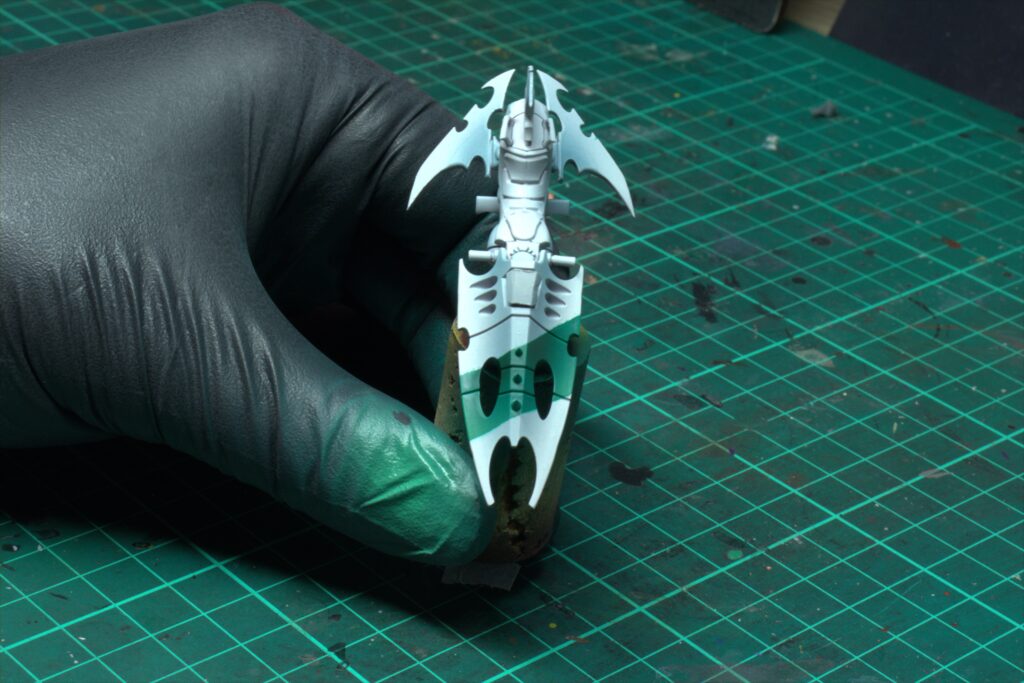
Once dry (you can use a hairdryer to speed this process up), I then gentle peel off the masking tape. If you do it while wet still, it will smudge the paint.
Step 7 – Stencils
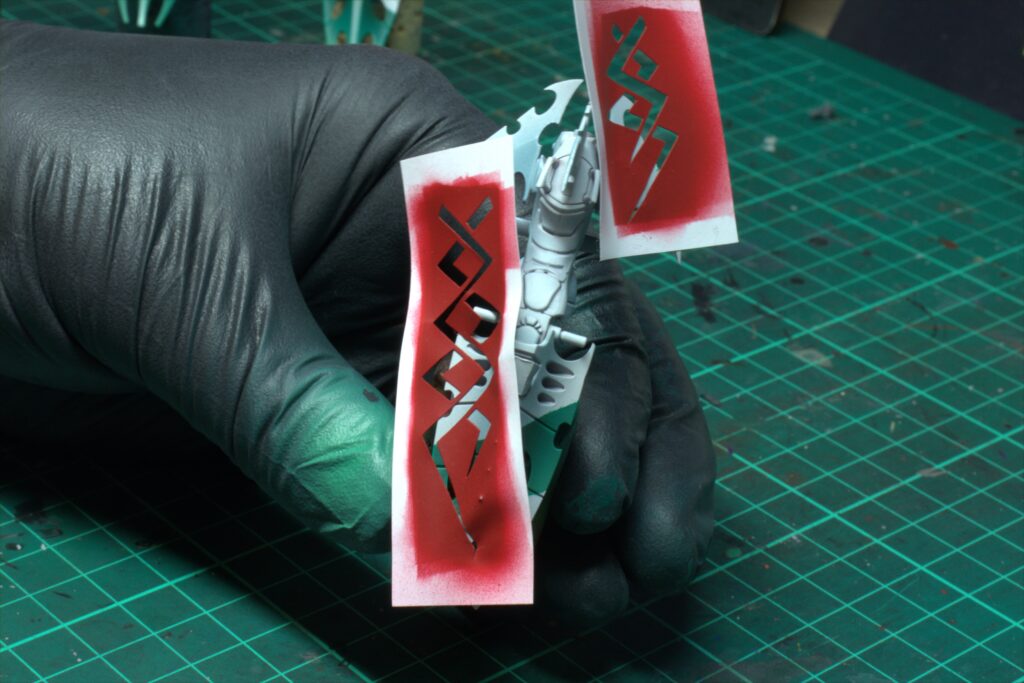
To add some patterns to the model, I place on some flexible stencils.
Step 8 – Avoiding Overspray
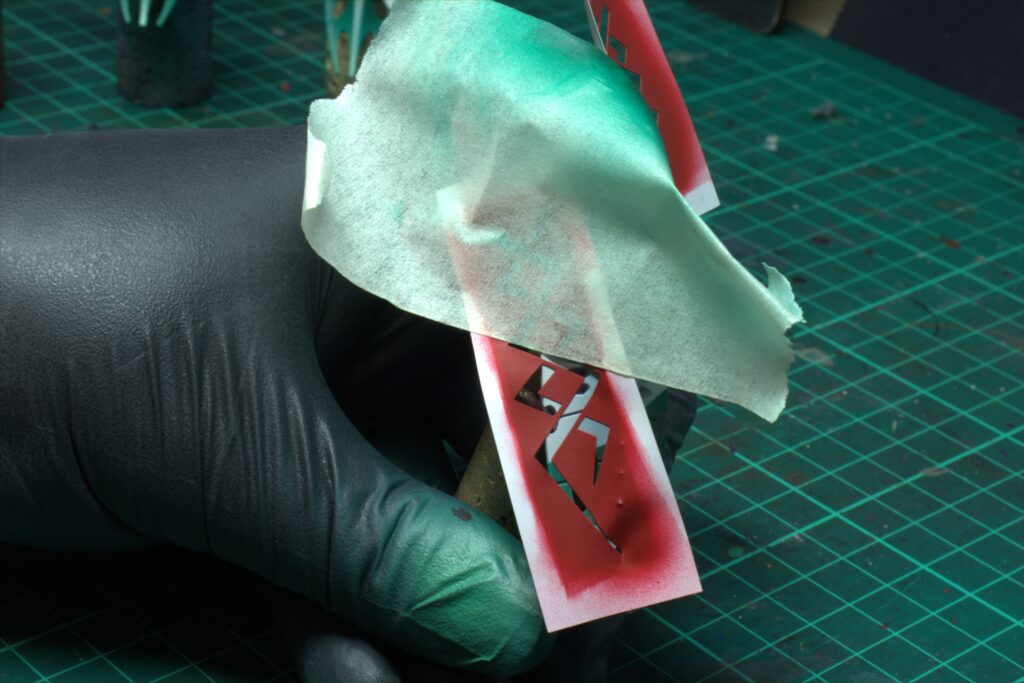
I then place some masking tape on the edge of the stencil, this prevents any paint landing on areas you don’t want it to go whilst using the airbrush (called overspray).
Step 9 – Focus Colour
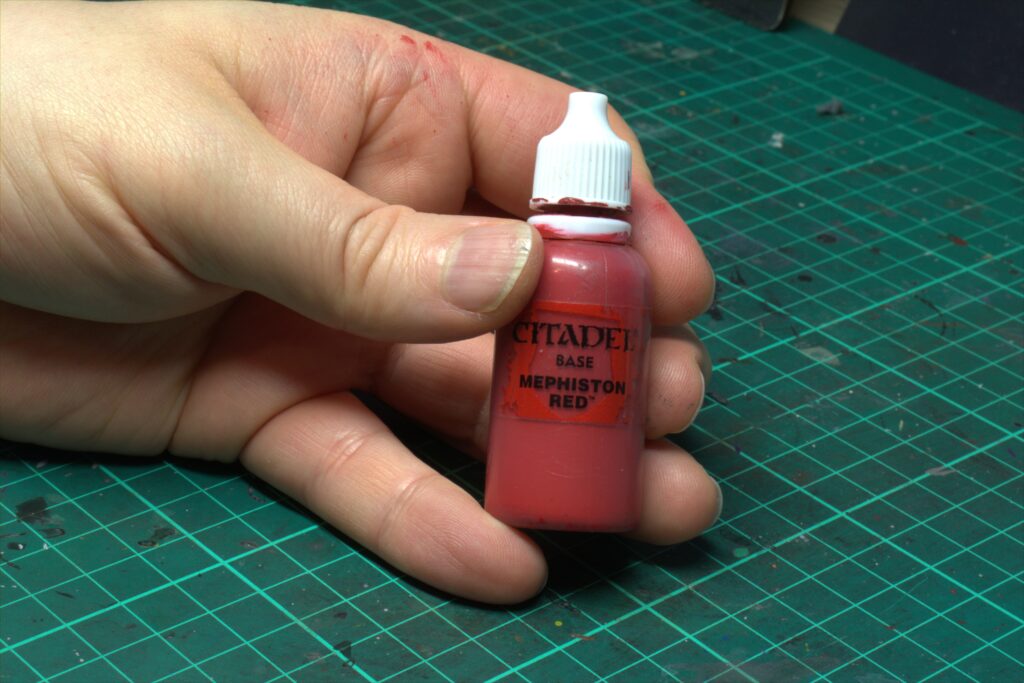
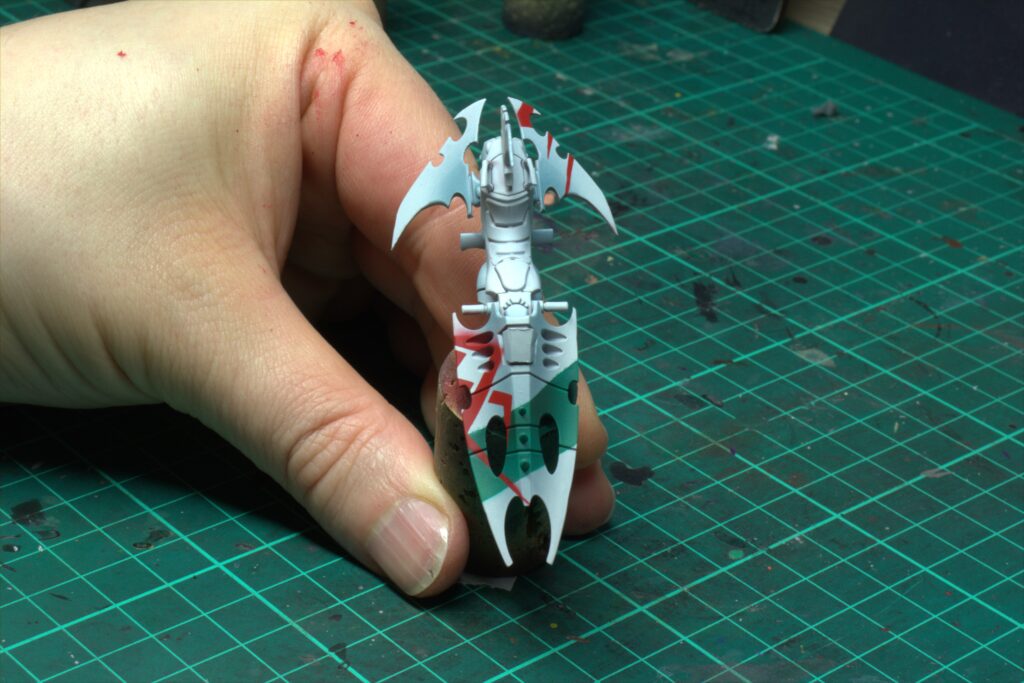
Using Mephiston Red I then spray a couple coats over the stencils. Let dry, then gently peel off the tape and stencils.
Step 10 – Variations
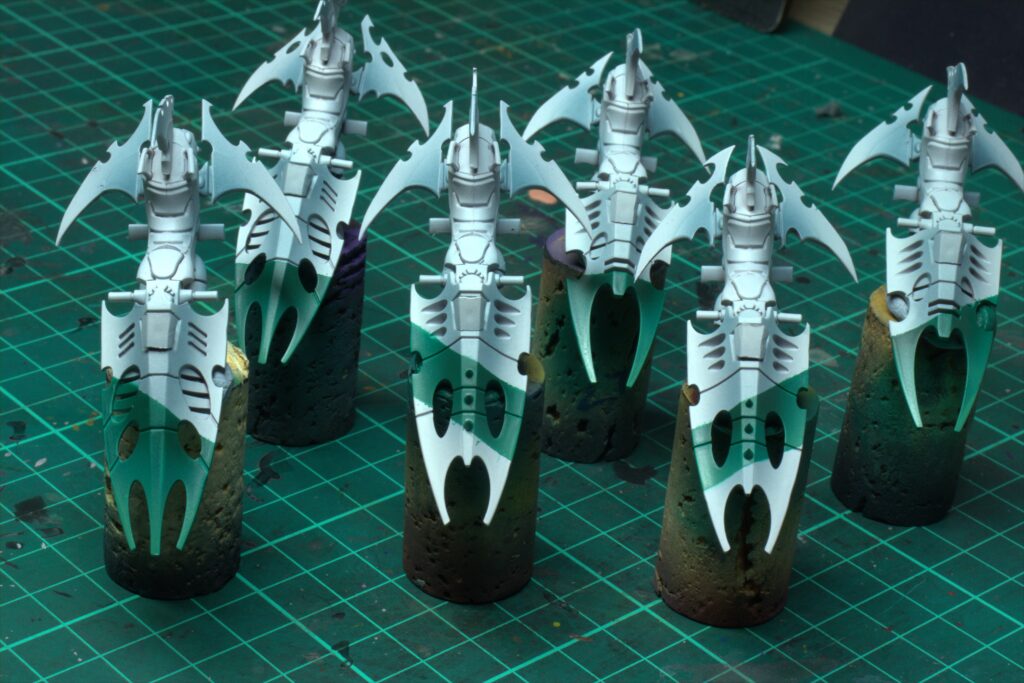
To create some squad marking or just to add some variety, apply the masking tape and stencils to different areas of the rest of the models! The colours and geometric shapes bring the unit together and the variety in placement gives disctintion between the models!
Bobby’s Top Tip: use more air than paint through your airbrush compared to normal, this will give a much smoother finish and prevent wet paint sneaking under the masking tape/stencil.
Outro
The full recipe is as follows:
I hope that has been of use to you! Got a request? Drop it through and I’ll see what I can do!

