How to Use a Textured Rolling Pin
- No Comments
We’ve got so many textured rolling pin designs available from Green Stuff World, but what can you actually create with them? And how can you get the best effect using them?
We’re here to show you how with our textured base!
1. Create the Base Layer Using Green Stuff
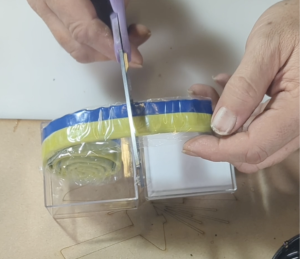
First, you’ll need a base and some green stuff. We’re using The Colour Forge’s green stuff, but you can use any you’ve got on hand. Cut off a generous piece and warm the green stuff between your fingers until the two colours are fully mixed together. Start to flatten it out and create a rounded shape with your fingers.
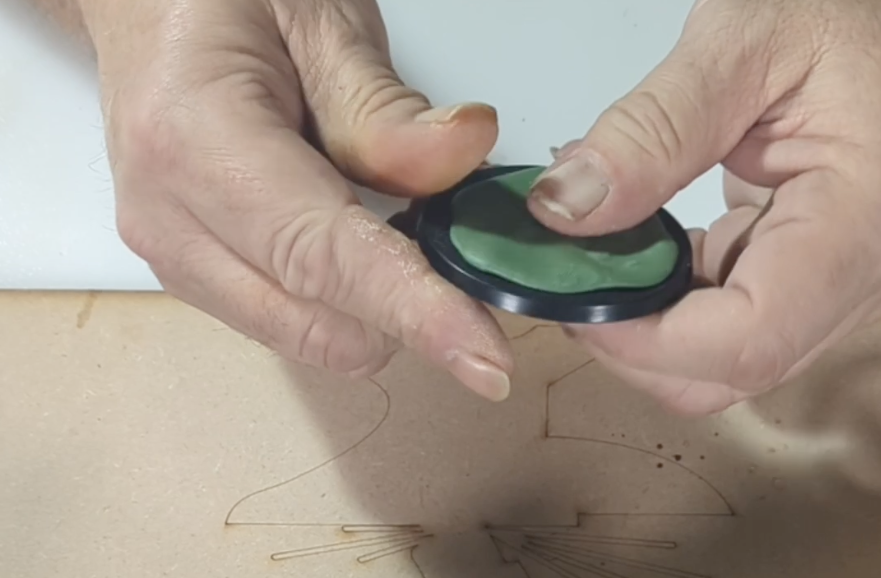
Grab your base and start to work the green stuff onto the base with your fingers. You don’t want to make it too thin, so be careful as you place it onto the base.
Remember, green stuff is very sticky, so you’ll need to wet your fingers to stop it sticking to your skin.
2. Create a Smooth Surface
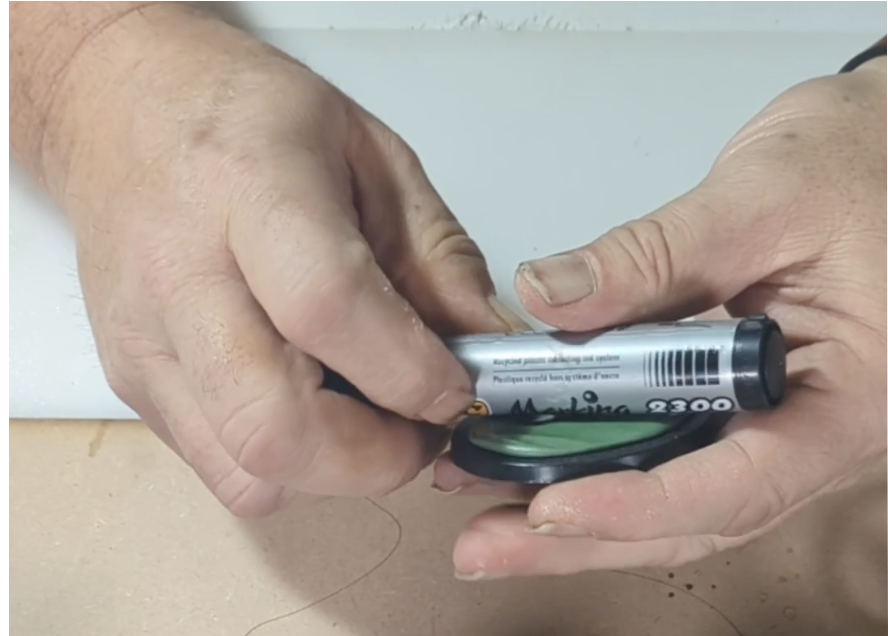
Now it’s time to get rid of your fingerprints! You could use a regular rolling pin to smooth out the top, but any smooth surface will work just as well. We’ve used a marker to roll out the top of our base.
Clean up the edges with a craft knife, and remember to work with your tools slightly damp to stop them sticking to your greenstuff.
3. Press Down Firmly with Rolling Pin
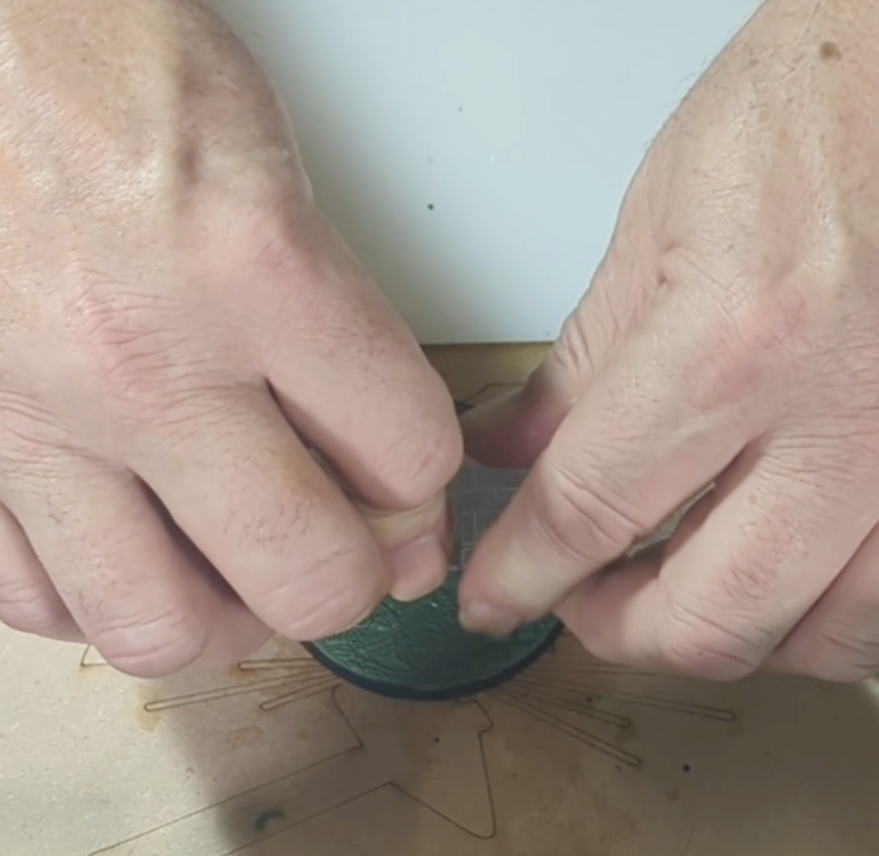
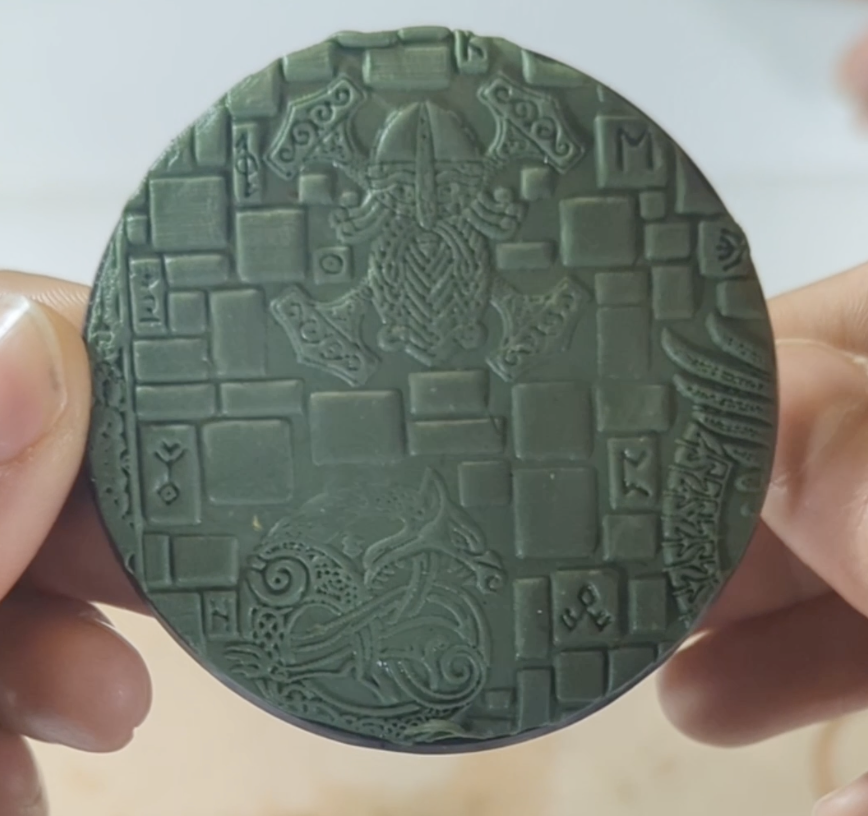
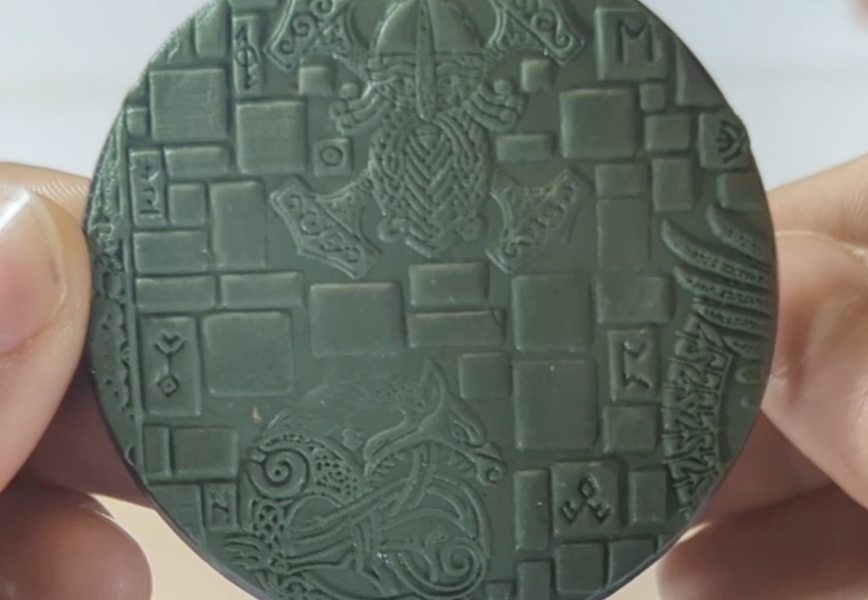
Let’s start creating some texture with your rolling pin! We’re using the Norseman greenstuff world rolling pin.
First, dampen your rolling pin, but be careful not to get it too wet otherwise it won’t print properly. Choose which part of the pattern you want to appear on the base and then press down hard on the rolling pin as you move it so the pattern comes out clearly.
And there you have it! Your base is now ready for whatever creative ideas you want to add to it.
What will you make with your rolling pin?
Check out our blog for more tutorials and hobby related content
