How to Use Dirty Down Moss
- No Comments
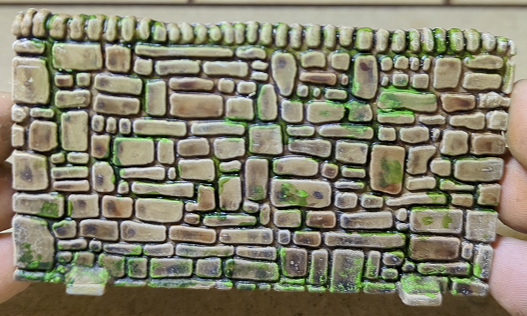
In this blog post, we’re going to walk you through how to create a realistic and aesthetic moss effect using Dirty Down Moss paint.
1. Start with a Mix of Sediment and Liquid
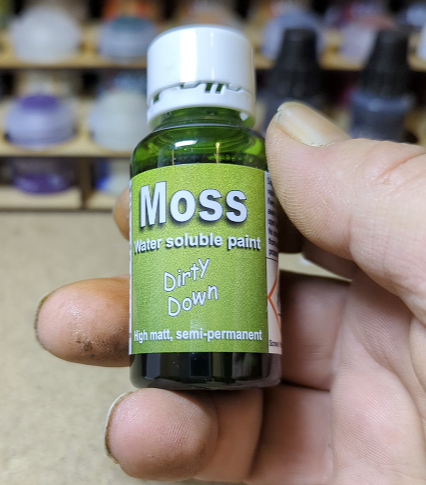
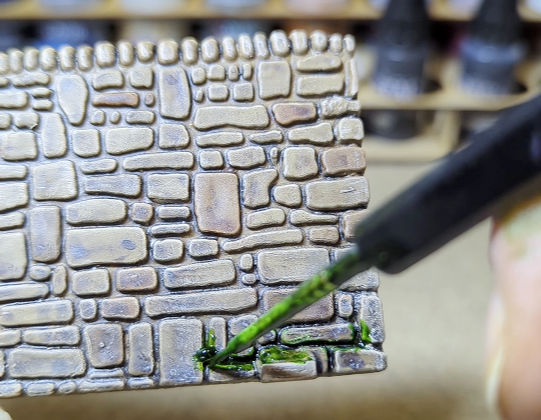
Firstly, you want to grab the model you’re creating your Dirty Down Moss effect with. The sediment of the paint is a brighter coloured green, whereas the liquid is a darker shade of green. As moss is varying levels of green, you want a mix of both on your brush to create a better effect
2. Look at Where Moss Naturally Accumulates
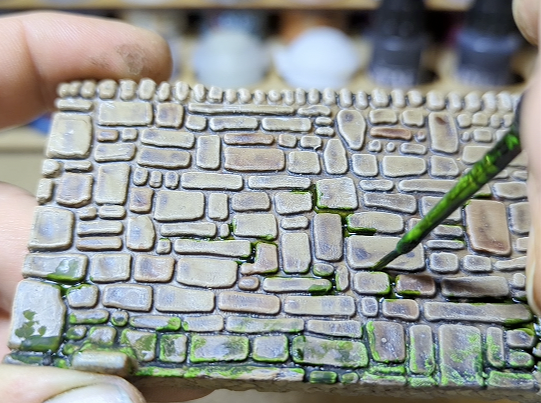
For a realistic finish, it’s important to strike a balance between making it look natural and aesthetically pleasing. To do this, make sure you over-emphasise where the moss would sit naturally on your model.
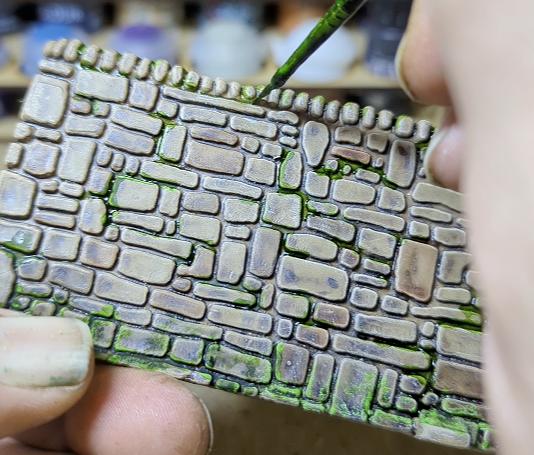
In nature, moss grows where moisture accumulates. Look at your model and assess where the moss would naturally gather. Think also about where the water would run down your model and sit and follow this with your brush. You want to start with the base of your model, building it up slowly around the cracks and the recesses.
3. Exaggerate on Your Model Where Moss Would Settle
For our model, water would trickle down the cracks in between the stone and pool in the recesses. Remember, to get a good overall effect, you want to exaggerate the areas of moss build up so it will look good on the tabletop.
4. Take Away any Excess Dirty Down Moss
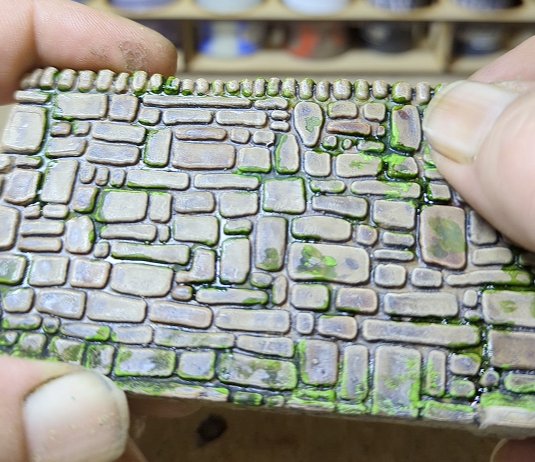
If you’ve added too much moss on your model, don’t panic! The DD Moss paint is water soluble and easily fixed. Simply grab a wet brush and lightly dab on the areas you’d like to remove the paint. Using either a dry brush or your finger, wipe away the excess paint from the model. This works just as well with a q-tip, where you wet one end to dab on the area you want to remove, and use the dry end to take away the paint.
5. Add a Final Coat of Varnish
Finally, cover your model in a layer of varnish to seal in the paint.
Your model now looks appropriately mossy!
